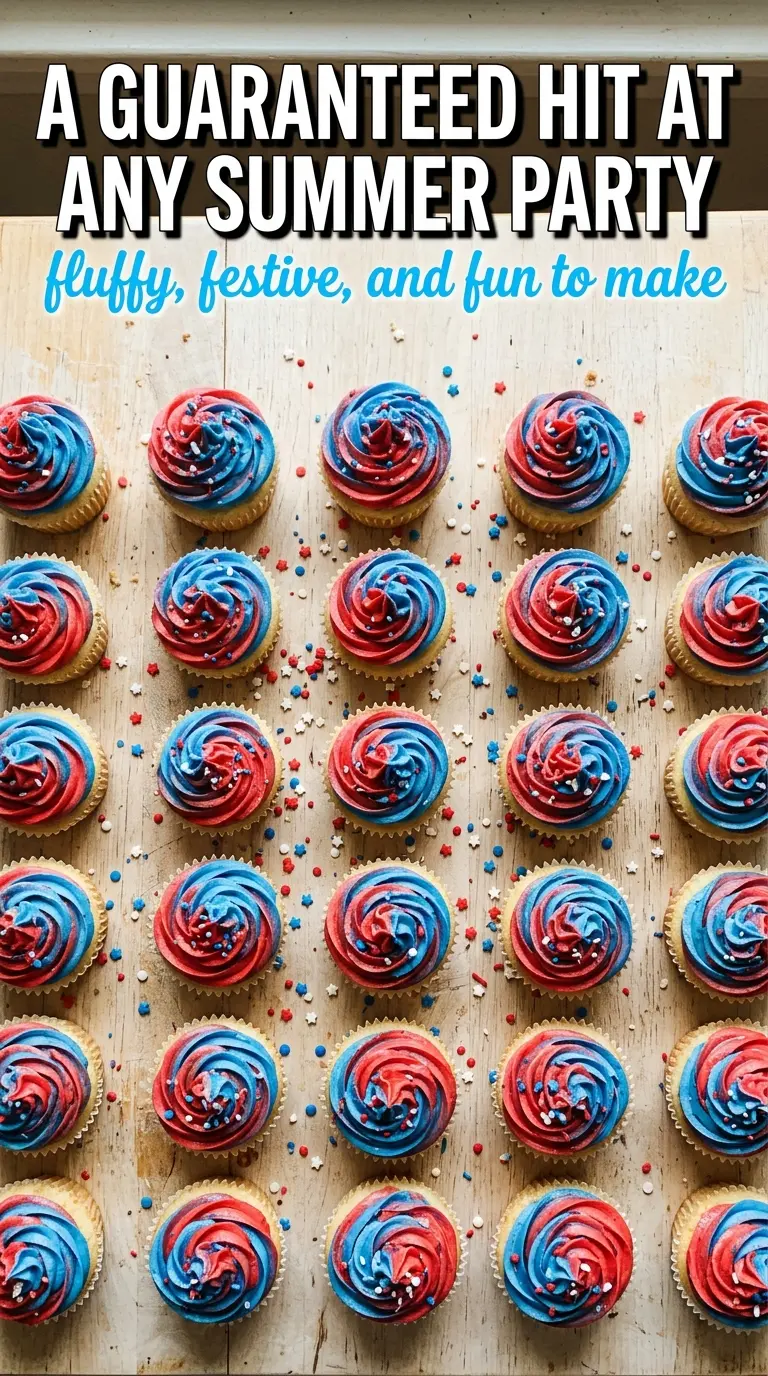
Fluffy vanilla cupcakes with a red-and-blue swirl bake up light, tender, and just a little playful once you cut into them. The batter stays soft enough to hold the colors without turning muddy, and the vanilla buttercream on top gives each cupcake that classic bakery-style finish without making the whole thing heavy. They’re the kind of treat people reach for first because they look festive, but they stay on the plate because they taste like a proper cupcake, not a gimmick.
What makes these work is the balance in the batter. Creaming the butter and sugar gives the cupcakes lift, while alternating the dry ingredients with the milk keeps the crumb fine and even. The colors stay sharp if you use gel food coloring instead of liquid, and the swirls look best when you stop as soon as the batter starts to marble. Overmixing at that stage turns the colors dull and the cupcakes dense.
Below, I’ve included the little details that help most: how to keep the swirls distinct, why room-temperature butter matters for the frosting, and what to do if you want to make them a day ahead for a party.
The cupcakes came out light and the red and blue swirls stayed distinct instead of blending together. The buttercream piped beautifully, and they held up great on the table for our cookout.
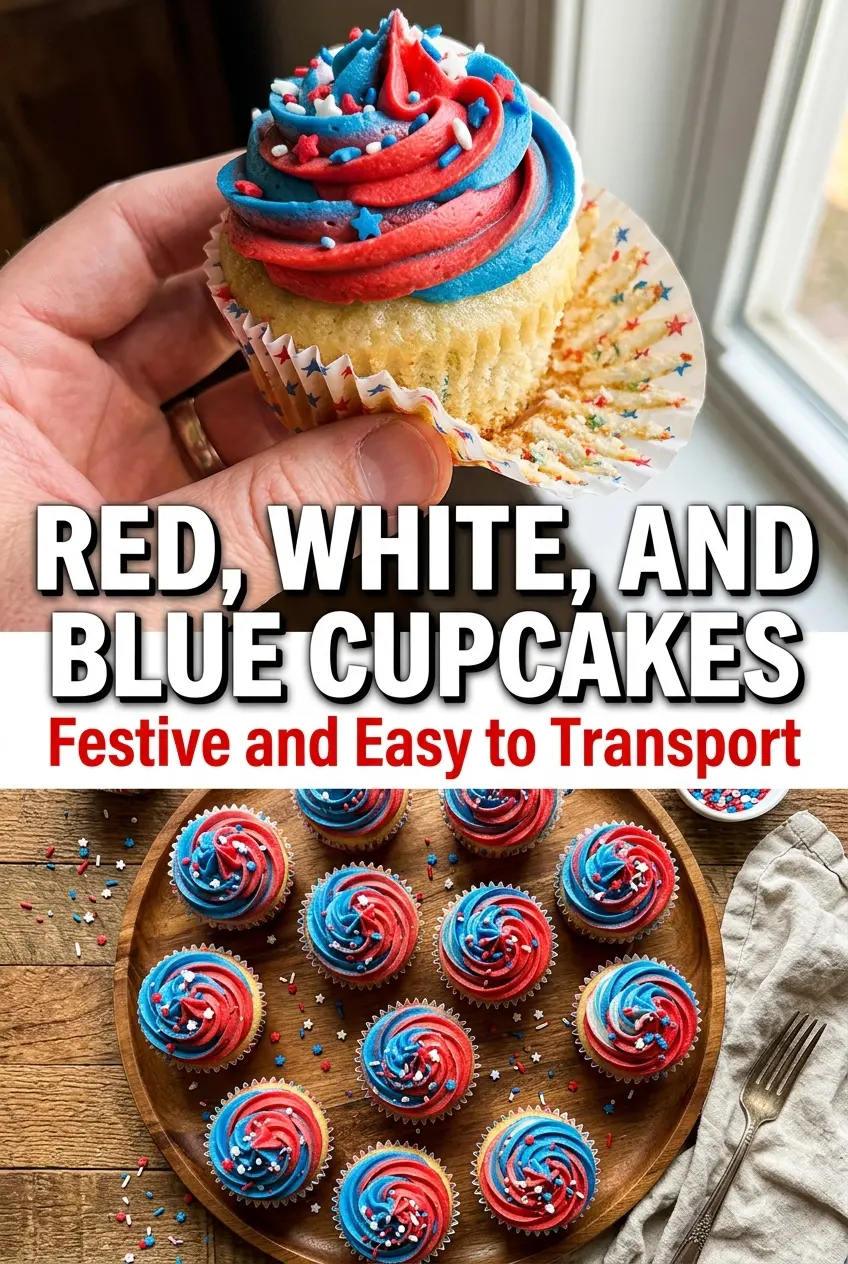
These red, white, and blue cupcakes keep the swirls bright and the vanilla buttercream extra billowy, which makes them a standout on any dessert table.
The Reason the Swirls Stay Bright Instead of Turning Muddy
The biggest mistake with red, white, and blue cupcakes is stirring the colors together too much. Once the batter is tinted, it needs to be spooned in and swirled lightly, not beaten into submission. A few turns with a toothpick is enough. If you chase the colors around the liner, you’ll end up with a grayish batter and lose the whole point of the dessert.
Gel food coloring matters here because it gives you strong color without thinning the batter. Liquid coloring can work in a pinch, but it often takes more of it to get a bold shade, and that extra liquid changes the texture. The result can be a cupcake that spreads a little too much and bakes up less defined. The plain portion of batter, if you leave some uncolored, gives the swirl a true white contrast instead of pastelizing everything.
What Each Ingredient Is Actually Doing in These Cupcakes
- All-purpose flour — Keeps the crumb sturdy enough for frosting while still staying soft. Cake flour will give you an even finer texture, but all-purpose is the better everyday choice and holds the swirl structure well.
- Baking powder — This is what gives the cupcakes their lift. If yours is old, the cupcakes bake up flat and dense, so check the date if you haven’t used it in a while.
- Unsalted butter — Use softened butter for both the batter and the frosting so it traps air when creamed. Salted butter can work in a pinch, but reduce any added salt if you go that route.
- Granulated sugar — It helps aerate the butter and keeps the crumb tender. Don’t swap in a coarse sugar here; it won’t dissolve the same way and the texture suffers.
- Eggs — These bind the batter and add structure so the cupcakes rise without collapsing. Room-temperature eggs mix in more smoothly and help the batter stay emulsified.
- Vanilla extract — Vanilla is the flavor that keeps the cupcakes tasting classic instead of just colorful. Use the good stuff if you can; it’s the main flavor in both the cake and frosting.
- Milk — This loosens the batter just enough for a soft, even crumb. Whole milk gives the best texture, but 2% also works well.
- Heavy cream — In the frosting, it turns a thick butter-and-sugar paste into something pipeable and light. Add it slowly so you stop at fluffy, not runny.
- Gel food coloring — This is the ingredient that makes the whole design work. Liquid coloring doesn’t deliver the same deep red and blue without throwing off the batter.
From Batter to Bake: How to Keep the Texture Light and the Colors Sharp
Build the Base First
Start by creaming the butter and sugar until the mixture turns pale and looks fluffy around the edges of the bowl. That air is part of the lift, so give it a full couple of minutes. If the butter is too cold, it will stay in little chunks and the batter won’t emulsify properly. Scrape the bowl well before adding the eggs so nothing gets left behind in streaks.
Add the Flour and Milk in Alternating Turns
Alternate the dry ingredients with the milk and stop mixing as soon as the flour disappears. That keeps the cupcakes tender instead of tough. If you keep mixing once the batter is smooth, you develop too much gluten and the cupcakes bake up with a tighter crumb. The batter should look soft and scoopable, not thin.
Swirl Without Overworking the Colors
Divide the batter, tint the portions, and drop alternating spoonfuls into the liners. Use a toothpick for just a few gentle figure-eights. You want visible streaks, not a fully blended batter. Too much swirling muddles the colors and can also collapse some of the air you built during creaming.
Bake Until the Center Springs Back
Bake until the tops are set and a toothpick comes out clean or with just a few moist crumbs. Don’t wait for deep browning; these should stay pale and soft. If they go too long, the edges dry out before the center finishes. Cool them completely before frosting, or the buttercream will slide right off.
Make Them Ahead for a Party Tray
Bake the cupcakes a day ahead and keep them unfrosted in an airtight container. The vanilla cake stays soft, and you get cleaner frosting later because the cupcakes are fully cooled. Add the buttercream and sprinkles the day you plan to serve them.
Gluten-Free Swap
Use a 1:1 gluten-free baking blend that contains xanthan gum. The cupcakes will still rise and hold the swirl well, though the crumb is usually a touch more delicate. Don’t overmix the batter after the flour goes in, or the texture can turn gummy.
Dairy-Free Version
Use a good plant-based butter and an unsweetened dairy-free milk such as oat or almond milk. The cupcakes will be slightly less rich, but the structure and color pattern still work. For the frosting, choose a plant butter that whips well; some brands stay greasy and never get properly fluffy.
Storage and Reheating
- Refrigerator: Store frosted cupcakes in an airtight container for up to 3 days. The frosting firms up in the fridge, so let them sit at room temperature before serving.
- Freezer: Freeze the unfrosted cupcakes for up to 2 months. Wrap them well and thaw at room temperature before frosting.
- Reheating: Don’t microwave frosted cupcakes. If you want the cake slightly warmer, thaw or bring it to room temperature first, then frost or serve.
Questions I Get Asked About This Recipe
Red White and Blue Cupcakes
Ingredients
Equipment
Method
- Preheat the oven to 350°F and line a muffin tin with cupcake liners.
- Whisk together the all-purpose flour, baking powder, and salt, then set aside.
- Cream the unsalted butter and granulated sugar until fluffy, then beat in the eggs and vanilla extract.
- Alternate adding the flour mixture and milk, mixing just until combined.
- Divide the batter into two bowls and tint one red and one blue (leave a small portion plain if desired).
- Spoon alternating dollops of red, white, and blue batter into the liners and swirl gently with a toothpick.
- Bake for 18–20 minutes, until a toothpick comes out clean, then cool completely before frosting.
- Beat the frosting unsalted butter until fluffy.
- Gradually add the powdered sugar and heavy cream, mixing until smooth.
- Pipe the vanilla buttercream onto the cooled cupcakes and top with patriotic sprinkles.