Buttery shortbread, a thick ribbon of raspberry jam, and a craggy crumble top give these cookies the kind of bakery texture that disappears fast from a tray. They’re tender at the base, crisp at the edges, and just sweet enough to keep the jam tasting bright instead of heavy. The square-cut, dusted finish makes them look like something you picked up from a fancy case, but the method is straightforward enough for a regular afternoon bake.
The key is treating the dough like a press-in crust and a crumb topping, not a classic drop cookie. Cold butter matters here because it keeps the crumble layered and sandy instead of turning pasty before it hits the oven. A thick raspberry jam helps too; runny filling can seep into the base and blur the clean layers that make these so good.
Below, I’ve included the little details that help this copycat version bake up neatly, plus a few smart swaps if you want to use a different jam or change the flavor a bit.
The jam stayed in a perfect layer and the crumb topping baked up with those little golden edges I was hoping for. My kids kept grabbing the squares before I could even dust them with powdered sugar.
Save these raspberry crumble cookies for the buttery shortbread base, jammy center, and crisp crumble top that bake up just like the Costco favorite.
The Reason the Jam Stays in a Clean Layer Instead of Bleeding Through
The biggest mistake with crumble bar-style cookies is using a filling that’s too loose. Thin jam softens the base before the cookies have time to set, and the whole middle turns muddy instead of giving you that separate buttery bottom and glossy raspberry layer. A thick jam sits where you spread it, so each square cuts cleanly after cooling.
Another thing that matters here is the texture of the crumb itself. You want a dough that holds together when pressed but still breaks into irregular clumps when you scatter it over the top. If the dough gets overmixed once the egg goes in, it starts acting like a cookie dough and loses that sandy bakery-style finish.
- Cold unsalted butter — This is what creates the short, crumbly texture. Cold butter cut into the dry ingredients keeps little pockets of fat intact, which melt in the oven and give you a tender, layered bite. If your kitchen runs warm, cube the butter and chill it again for a few minutes before mixing.
- Raspberry jam — A thick, seedless or low-sugar-style jam works best if you want neat layers. If your jam seems loose in the jar, stir in a spoonful of cornstarch and cook it briefly on the stove, then cool it before assembling. That extra step keeps the filling from soaking into the crust.
- All-purpose flour — This gives the cookie its sturdy, sliceable structure. I wouldn’t swap in cake flour here; the dough would turn too delicate and the bars would crumble apart before the jam layer had a chance to set.
- Powdered sugar for dusting — This isn’t just decoration. It softens the look of the top and gives the finished cookies that familiar bakery-case finish. Dust only after the cookies are completely cool or the sugar will melt into the surface.
Building the Crumble So the Bottom and Top Bake at the Same Speed
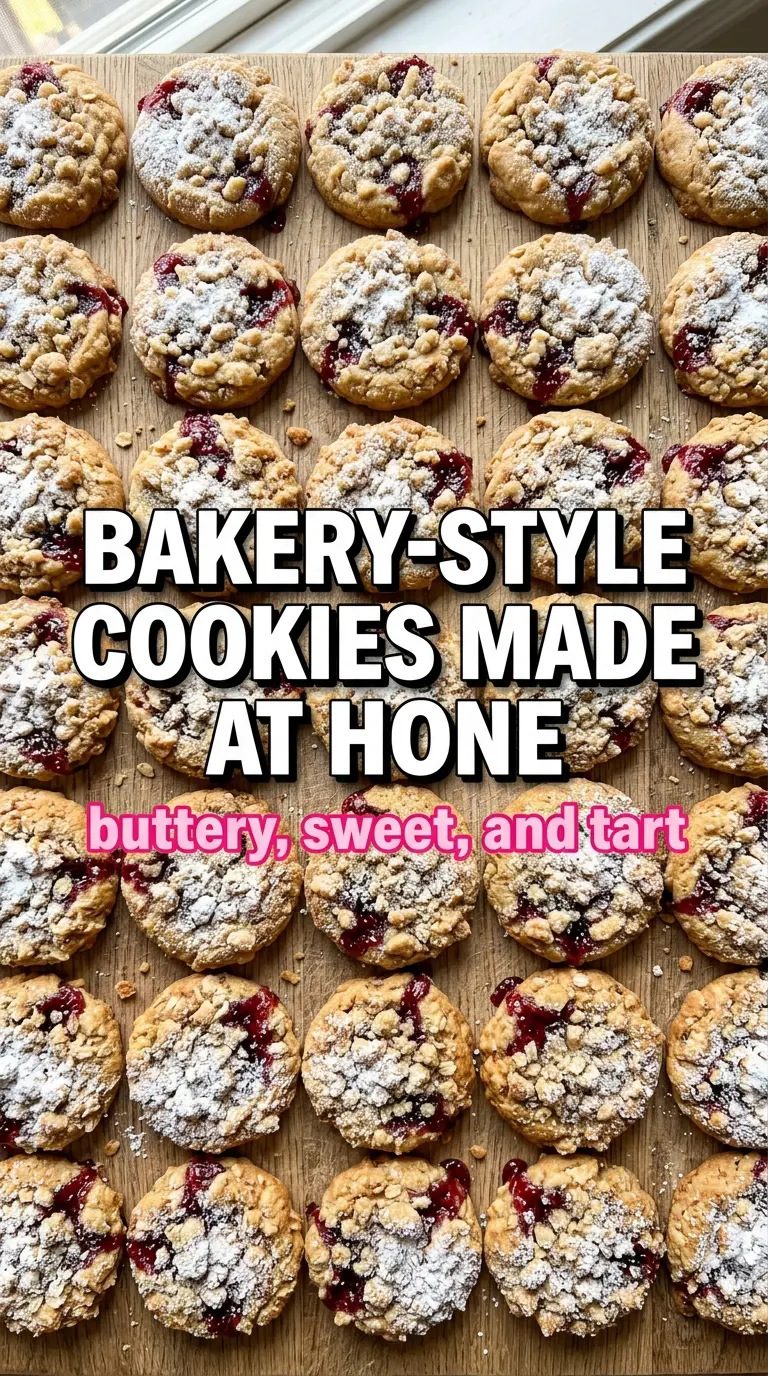
Whisk the flour, sugar, and salt first so the butter gets distributed evenly instead of clumping in one spot. When you cut in the cold butter, stop when you have coarse crumbs with a few pea-sized pieces left. Those little bits matter because they bake into a more interesting, flaky crumble.
Once the egg and vanilla go in, mix only until the dough starts to hold together. If you keep beating it, the dough turns dense and sticky, which makes it harder to press into the pan and harder to crumble over the jam later. You want a soft dough that still looks a little rough around the edges.
Pressing the Base
Use two-thirds of the dough for the bottom layer and press it into an even sheet. The goal is compact, not packed hard like concrete. If you press too aggressively, the base bakes up tough and resists the jam instead of supporting it.
Spreading the Jam
Spread the raspberry jam all the way to the edges in an even layer. A small offset spatula helps, but the main thing is thickness consistency, because thin spots can bake into gaps while thicker spots stay gooey. Leave the jam smooth, not swirled; the top crumble will do the visual work.
Finishing with Loose Crumbs
Break the remaining dough into uneven clumps and scatter them over the jam. Don’t cover the surface completely. The visible jam gives the cookies that classic bakery look and helps the top bake into crisp ridges instead of one flat lid.
Baking Until the Edges Set
Bake until the top is golden and the edges look set, even if the center still seems a little soft. That middle firms up as it cools. Pulling them too early leaves you with a gummy layer; pulling them too late dries out the shortbread and dulls the jam.
Three Ways to Adjust These Cookies Without Losing the Bakery Texture
Swap the Raspberry Jam for Another Thick Fruit Filling
Apricot, strawberry, or blackberry jam all work here as long as they’re thick enough to hold a line when spread. Raspberry gives the sharpest tart-sweet contrast, while apricot tastes a little softer and more classic pastry-shop. If your jam is loose, simmer it briefly first so it behaves like the raspberry version.
Make Them Gluten-Free Without Turning the Crumble Gritty
Use a 1:1 gluten-free flour blend that already includes xanthan gum. The cookies will still hold together and slice cleanly, though the crumb will be a little more delicate. Don’t use almond flour by itself here; it won’t give you the same press-in base or the same bakery-style crumble.
Add a Lemon Edge to Cut the Sweetness
A teaspoon of finely grated lemon zest in the dough wakes up the raspberry and makes the cookies taste a little brighter. It won’t change the structure, just the finish. This is the best tweak if you want the bars to taste less like a straight copycat and more like a bakery version with a sharper fruit note.
Use a Dairy-Free Butter Substitute
A plant-based butter stick will work, but choose one meant for baking, not a soft tub spread. You’ll still get a tender crumb, though the flavor will be a little less rich and the dough may need a minute or two in the fridge if it feels too soft. Cold fat is the thing you’re protecting here.
Storage and Reheating
- Refrigerator: Store in an airtight container for up to 5 days. The crumble softens slightly by day two, but the cookies still slice and taste great.
- Freezer: Freeze the baked, cooled squares between layers of parchment for up to 2 months. Dust with powdered sugar after thawing, not before, so it doesn’t dissolve into the surface.
- Reheating: If you want them a little warm, use a low oven for a few minutes instead of the microwave. The microwave makes the jam hot and the base soft, which flattens the texture you worked for.
Questions I Get Asked About This Recipe
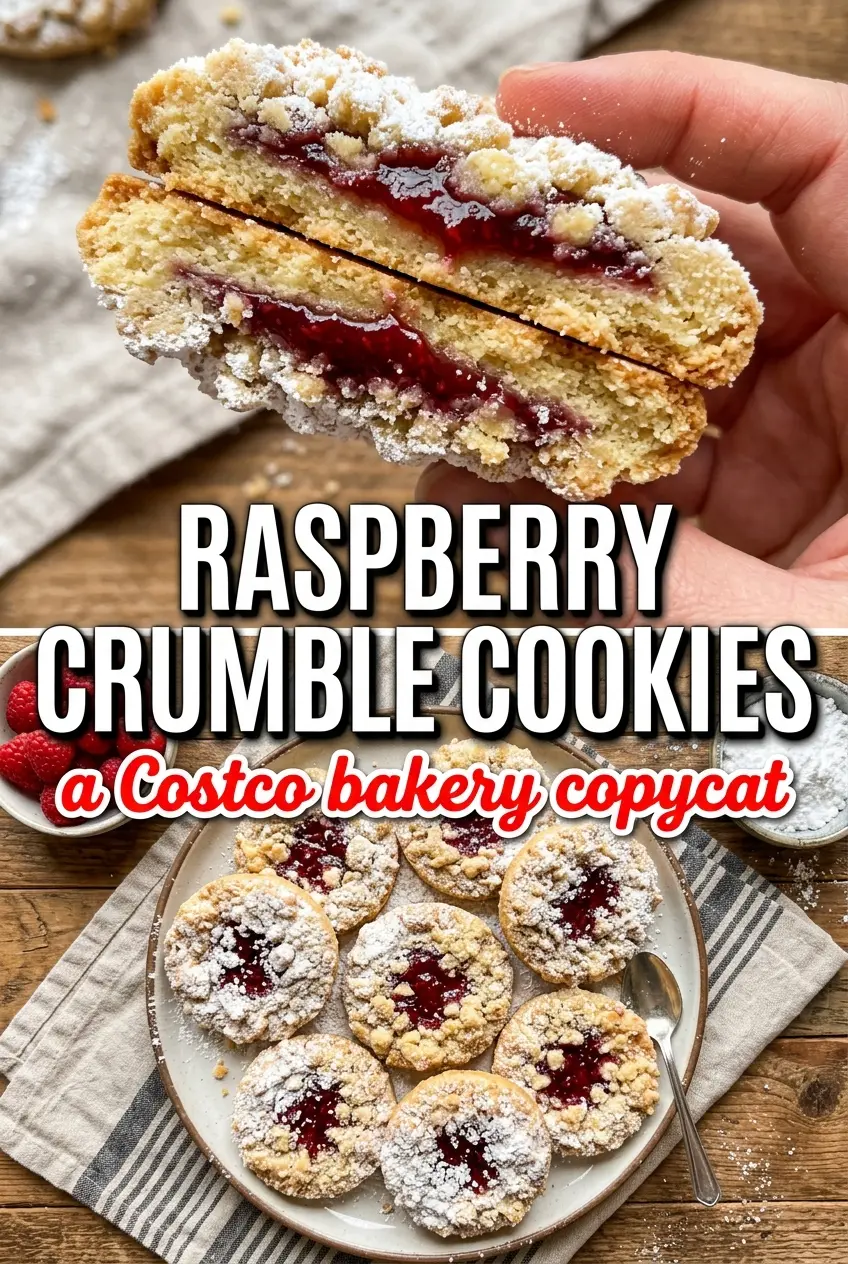
Raspberry Crumble Cookies (Costco Copycat)
Ingredients
Equipment
Method
- Preheat the oven to 350°F and line a baking sheet with parchment paper for easy release.
- Whisk together the all-purpose flour, granulated sugar, and salt, then cut in the cold unsalted butter until coarse crumbs form.
- Beat in the egg and vanilla extract until the mixture just comes together into a soft dough.
- Press two-thirds of the dough into an even layer on the prepared baking sheet, then spread the raspberry jam evenly over the top.
- Crumble the remaining dough over the jam in loose clumps, leaving some jam visible for a jammy look.
- Bake for 25–28 minutes, until the crumble is golden at the edges.
- Cool completely, then dust with powdered sugar and cut into squares for clean bars.