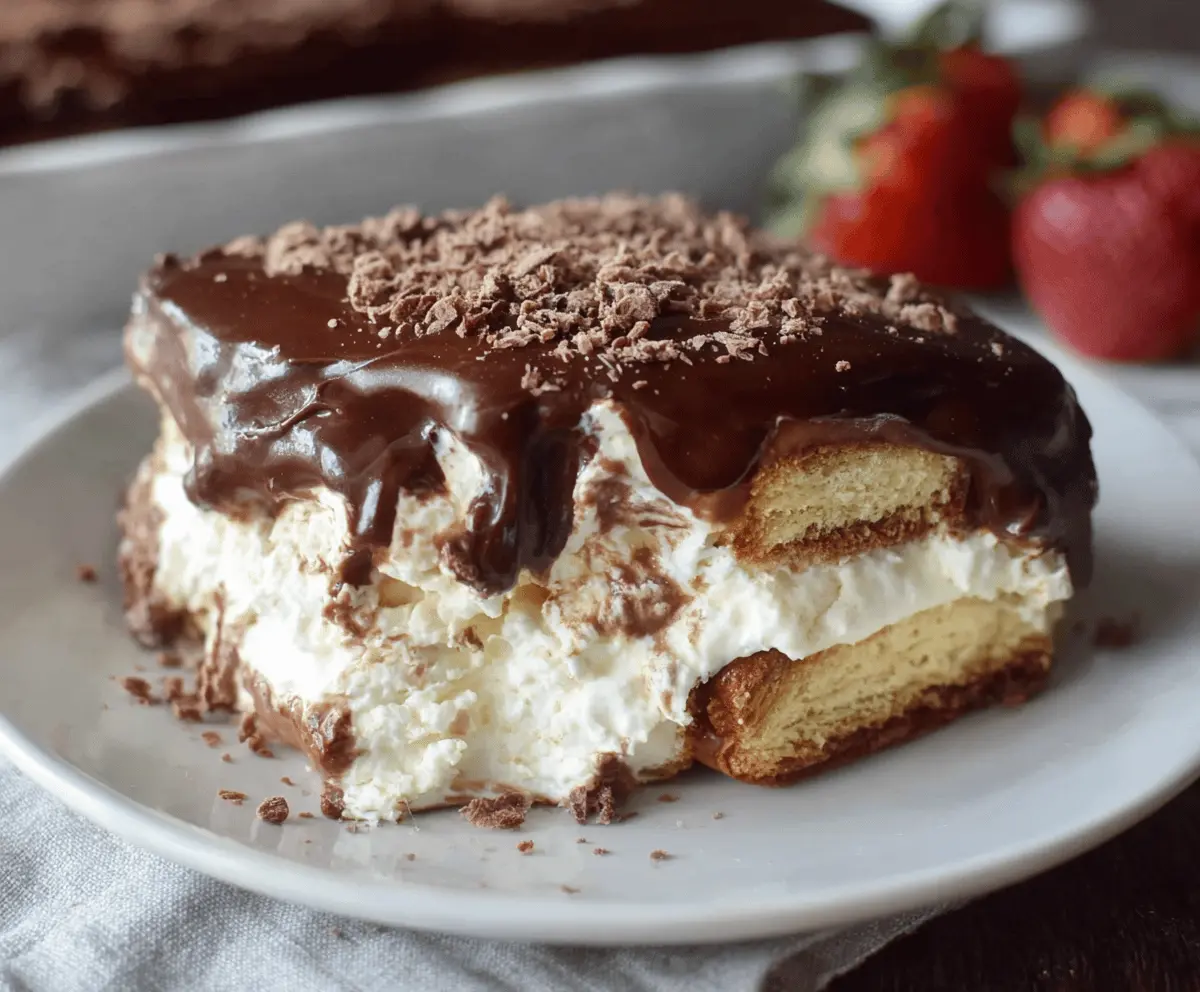
This No Bake Chocolate Eclair Cake is a dreamy treat that layers creamy vanilla pudding and crisp graham crackers. Topped off with a rich chocolate glaze, it’s truly a dessert lover’s delight!
Key Ingredients & Substitutions
Cold Milk: You’ll need this for both the vanilla and chocolate pudding. I prefer whole milk for creaminess, but 2% or even almond milk works too! Just make sure it’s chilled for best results.
Instant Vanilla Pudding Mix: This is key for flavor and texture. If you’re dairy-free, look for a plant-based instant pudding mix—it’ll give you that creamy layer without the milk.
Whipped Topping: I usually use Cool Whip, but you can make your own with heavy cream and sugar for a fresher taste. Vegan versions made from coconut or soy can be used as well!
Graham Crackers or Ladyfingers: I love the crunch of graham crackers, but ladyfingers are lighter and can add a different texture. Use whichever you have on hand, or try crushed cookies as a fun substitute!
Chocolate Chips: Semi-sweet are my favorite, but you can easily swap for milk chocolate or even dark chocolate for a richer taste. For dairy-free options, look for vegan chocolate chips!
How to Achieve the Best Pudding Texture?
The key to smooth pudding is in how you mix. When whisking the milk with the pudding mix, do it quickly to avoid lumps. Let it sit for about 5 minutes after mixing—it’ll thicken nicely!
- Use a whisk instead of a spoon to help incorporate air for a fluffier texture.
- For the whipped topping, gently fold it into the pudding. This keeps it light and airy.
- If using homemade whipped cream, be sure to whip it to the right stiffness, it should be billowy but not too stiff.
Keep the layers even and let the cake chill overnight if you can! It helps the flavors meld together perfectly. Happy baking (or rather, no baking!)
No Bake Chocolate Eclair Cake
Ingredients You’ll Need:
For the Vanilla Layer:
- 4 cups cold milk, divided
- 2 (3.4 oz) boxes instant vanilla pudding mix
- 1 (8 oz) tub whipped topping, thawed (e.g. Cool Whip)
- 1 (16 oz) package graham crackers or ladyfingers
For the Chocolate Topping:
- 1 (1 oz) package instant chocolate pudding mix
- 2 cups cold milk (for chocolate pudding)
- 3/4 cup semi-sweet chocolate chips
- 2 tablespoons butter
- Optional: shaved chocolate or chocolate sprinkles for garnish
How Much Time Will You Need?
This delightful No Bake Chocolate Eclair Cake requires about 20 minutes of prep time. After that, you’ll need to let it chill in the refrigerator for at least 4 hours, or overnight if possible, to let the flavors meld and the layers soften. Perfect for making ahead of time!
Step-by-Step Instructions:
1. Prepare the Vanilla Layer:
Start by taking a large bowl and whisking together the 4 cups of cold milk and the 2 boxes of instant vanilla pudding mix. Keep whisking for about 2 minutes until the mixture begins to thicken nicely.
2. Fold in the Whipped Topping:
Gently fold in the thawed whipped topping until everything is smooth and well combined. This adds a lovely lightness to the pudding! Set this mixture aside for now.
3. Create the Base Layer:
Grab a large rectangular dish (a 9×13 inch pan works well). Start by arranging a single layer of graham crackers or ladyfingers at the bottom of the dish. This will be the base of your cake.
4. Add the First Pudding Layer:
Spread half of the vanilla pudding mixture evenly over the layer of crackers. Make sure it’s distributed well for a lovely creamy taste in every bite!
5. Second Layer of Crackers:
Place another layer of graham crackers or ladyfingers on top of the pudding layer you just spread. This adds structure to the cake!
6. Finish with Vanilla Pudding:
Spread the remaining vanilla pudding mixture over the second layer of crackers. Now your base layers are complete!
7. Prepare the Chocolate Topping:
For the chocolate topping, take a medium mixing bowl and whisk together the instant chocolate pudding mix and 2 cups of cold milk. Do this for about 2 minutes until it thickens up nicely.
8. Melt the Chocolate:
In a small saucepan over low heat, melt the chocolate chips with the butter. Stir until the mixture is smooth and completely melted. This will give you a luscious chocolate glaze!
9. Combine Toppings:
Carefully mix the melted chocolate mixture into the chocolate pudding until everything is well combined, creating a rich and creamy topping.
10. Top the Cake:
Pour the chocolate topping evenly over the top layer of pudding in the dish. Make sure it’s spread out smoothly to cover every inch!
11. Add Garnish:
If you like, sprinkle shaved chocolate or chocolate sprinkles on top for a special touch!
12. Chill and Set:
Cover the cake with plastic wrap and refrigerate for at least 4 hours, or overnight if possible. This chilling time helps the graham crackers soften and the flavors meld beautifully.
13. Serve:
When you’re ready to serve, slice into squares and enjoy this deliciously rich and creamy No Bake Chocolate Eclair Cake, chilled and ready to delight your taste buds!
Can I Use Whole Milk Instead of Low-Fat Milk?
Absolutely! Whole milk will provide a creamier texture and richer flavor. However, you can use any milk you prefer, including low-fat or non-dairy options like almond or oat milk for a lighter version.
How Long Can I Store Leftovers?
You can keep any leftovers in an airtight container in the fridge for up to 3 days. Just be sure to eat them within that time frame for the best taste and texture!
Can I Make This Cake Gluten-Free?
Yes! Simply substitute regular graham crackers or ladyfingers with gluten-free versions. There are many options available at grocery stores that still taste great!
What If I Don’t Have Instant Pudding Mix?
If you don’t have instant pudding mix, you can make your own custard or use a similar store-bought custard mix. Just follow the directions on the package for a creamy layer!