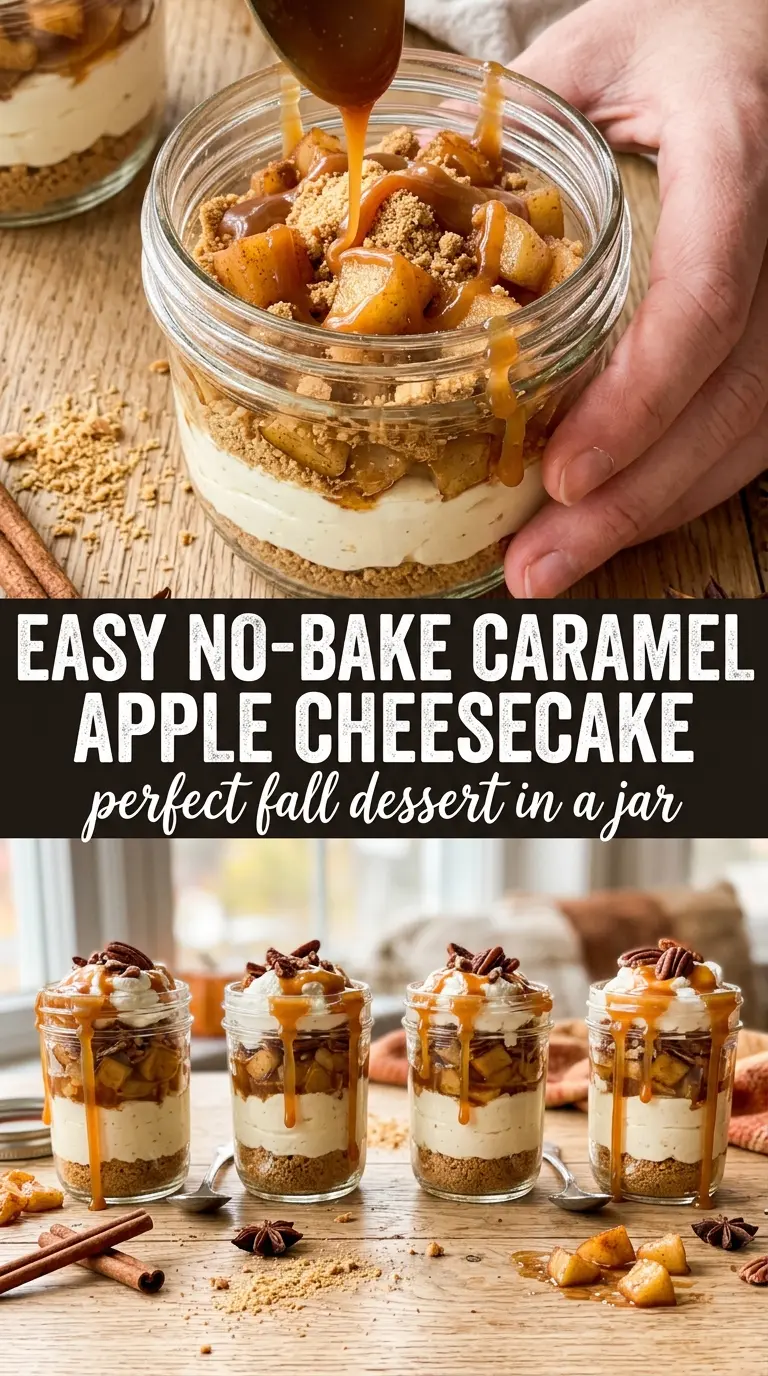
Layers of buttery graham cracker crumbs, billowy cheesecake filling, tender cinnamon apples, and a caramel drizzle turn these little jars into a dessert that disappears fast. The texture is what makes them special: the crust stays lightly crisp, the filling stays airy, and the apples bring just enough warmth to keep every bite from tasting flat or heavy.
The trick is in the balance. The cream cheese gets beaten smooth before the whipped cream goes in, which keeps the filling from turning dense. The apples are cooked just long enough to soften and release their juices, but not so long that they collapse into applesauce. That gives you clean layers and a spoonful that tastes like caramel apple pie met cheesecake and decided to stop arguing.
Below, I’ve included the little details that matter most: how to keep the filling fluffy, how to avoid watery apples, and a few easy ways to adapt these jars when you want to change the flavor or make them ahead.
The cheesecake layer stayed fluffy after chilling, and the apples were just soft enough without turning mushy. I loved that the caramel soaked into the top instead of making the crust soggy.
These no-bake caramel apple cheesecake jars are perfect when you want a fall dessert that chills up beautifully and serves in its own container.
The Secret to Layers That Stay Clean Instead of Sliding Into Each Other
Jar desserts look effortless, but the structure can get messy fast if the filling is too loose or the fruit is too wet. The crust needs enough butter to hold its shape without turning greasy, and the cheesecake layer needs to be whipped light enough to pipe or spoon cleanly, but not so soft that it puddles around the apples. That’s the difference between distinct layers and a dessert that turns into one creamy blur after an hour in the fridge.
The other thing people miss is cooling the apples before layering. Warm apples will melt the filling and soften the crust. Let them come all the way down to room temperature so the jars chill evenly and the caramel stays where you put it.
What Each Ingredient Is Actually Doing in This Dish
- Graham cracker crumbs — These give you the classic cheesecake base and soak up just enough butter to press into a sturdy layer. If you only have whole crackers, crush them finely so the crust packs tightly instead of crumbling apart under the filling.
- Unsalted butter — Butter binds the crust and adds richness, but too much makes it greasy and soft. Melt it fully and mix until every crumb looks evenly coated before portioning it into the jars.
- Cream cheese — This is the backbone of the filling, so it needs to be softened all the way through. Cold cream cheese leaves little lumps that won’t disappear, even after whipping.
- Powdered sugar — It sweetens the filling without graininess and helps the mixture stay smooth. Granulated sugar works in a pinch, but it won’t dissolve as cleanly.
- Heavy whipping cream — Whipped to soft peaks, it lightens the cream cheese into that mousse-like texture that makes the jars taste airy instead of dense. Stop at soft peaks; if you whip it too far, the filling loses its smooth finish.
- Apples — Use a firm variety like Honeycrisp, Granny Smith, or Fuji so the pieces hold their shape after cooking. Softer apples break down too fast and give you a loose, saucy layer instead of distinct apple bites.
- Brown sugar and cinnamon — These build the warm, spiced apple layer without extra fuss. The brown sugar also pulls out a little juice from the apples, which helps create that glossy coating you want in each spoonful.
- Caramel sauce — This is the finishing note that ties everything together. A thicker caramel sauce is best here because it drizzles neatly and doesn’t run straight to the bottom of the jar.
Building the Filling and Fruit So the Jars Chill Up Beautifully
Pressing the Crust Without Compacting It Into a Brick
Mix the graham cracker crumbs with the melted butter until the mixture looks like damp sand, then divide it among the jars and press it down lightly. You want it firm enough to hold the cheesecake layer, but not packed so tightly that a spoon has trouble cutting through it. If the crust is greasy or loose, the butter ratio was off, so add a little more crumbs if needed before pressing.
Whipping the Cheesecake Layer for a Light Finish
Beat the softened cream cheese, powdered sugar, and vanilla until the mixture is completely smooth before the whipped cream goes in. If you add whipped cream to a lumpy base, those lumps stay there. Fold in the whipped cream gently so you keep the air in the mixture; that’s what gives the filling its clean, spoonable texture after chilling.
Cooking the Apples Until They Hold Their Shape
Cook the diced apples with brown sugar and cinnamon over medium heat for 5 to 6 minutes, just until they soften at the edges but still keep a little bite. If the pan is too hot, the juices will cook off too fast and the apples can scorch before they turn tender. Let them cool fully before layering, or the heat will thin the filling and make the jars slide around in the fridge.
Layering for the Best Spoonful
Spoon the cheesecake filling over the crust, then top with the cooled apples and a drizzle of caramel sauce. Keep the layers even from jar to jar so each serving chills at the same rate and looks tidy when you open it. A short chill of at least 2 hours gives the filling time to set and lets the flavors meld without turning the crust soggy.
Three Ways to Adjust These Jars Without Losing the Good Part
Make It Dairy-Free
Use a dairy-free cream cheese and a whipped coconut topping in place of the heavy cream. The texture will be a little softer and the flavor will lean slightly coconut if you use canned coconut cream, but the jars still hold together well after chilling.
Make It Gluten-Free
Swap in gluten-free graham-style crumbs or crushed gluten-free cookies for the crust. Keep the butter amount the same, but check the crumbs after mixing; some gluten-free cookies need a touch more butter to hold their shape cleanly.
Use Pears Instead of Apples
Firm pears work well if that’s what you have, but cook them a minute or two less because they soften faster than apples. The result is gentler and a little more floral, with the same caramel-and-cream contrast.
Storage and Reheating
- Refrigerator: Store covered for up to 2 days. The crust softens a little by day two, but the flavor stays great.
- Freezer: I don’t recommend freezing these jars. The filling can separate and the apples turn watery after thawing.
- Reheating: No reheating needed. Serve them straight from the fridge, and add the caramel drizzle right before serving so it stays glossy.
Answers to the Questions Worth Asking
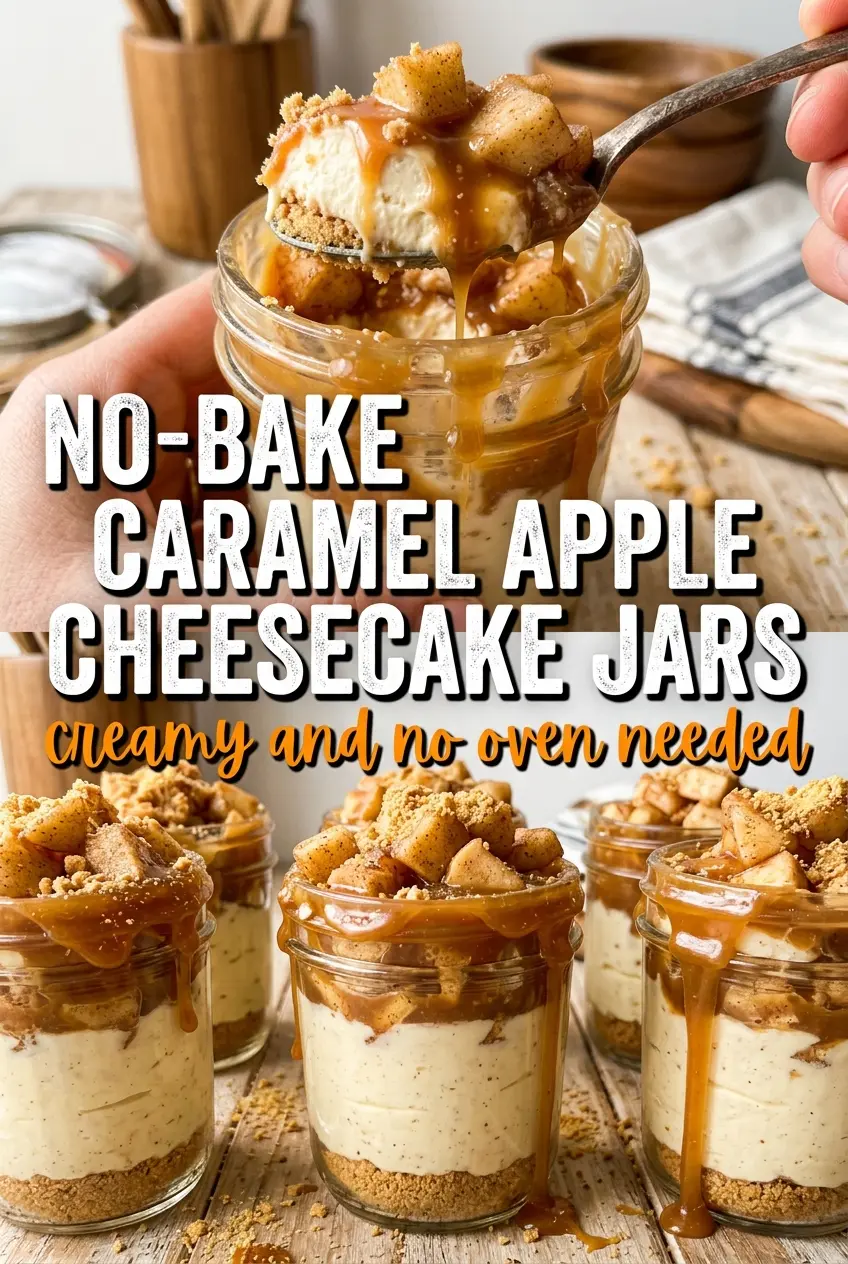
No-Bake Caramel Apple Cheesecake In A Jar
Ingredients
Equipment
Method
- Mix the graham cracker crumbs with the melted butter, then divide among 6 small jars, pressing gently into the bottom of each. Stop pressing when the layer looks evenly compact.
- Beat the cream cheese, powdered sugar, and vanilla until smooth, then fold in the whipped cream. Fold gently just until no streaks of cream remain.
- Cook the diced apples with brown sugar and cinnamon in a skillet over medium heat for 5–6 minutes, until softened. Look for tender pieces and a glossy, lightly thickened syrup.
- Let the spiced apples cool until no longer hot before layering. The apples should be warm to the touch, not steaming.
- Divide the cheesecake filling among the jars, spooning it over the crust. Tap the jars lightly to settle the filling.
- Top each jar with the spiced apples and a drizzle of caramel sauce. Finish with an extra thin line of caramel so it pools slightly at the edges.
- Chill the jars for at least 2 hours before serving, or up to 2 days. The filling should feel set and hold its shape when the spoon breaks the top layer.