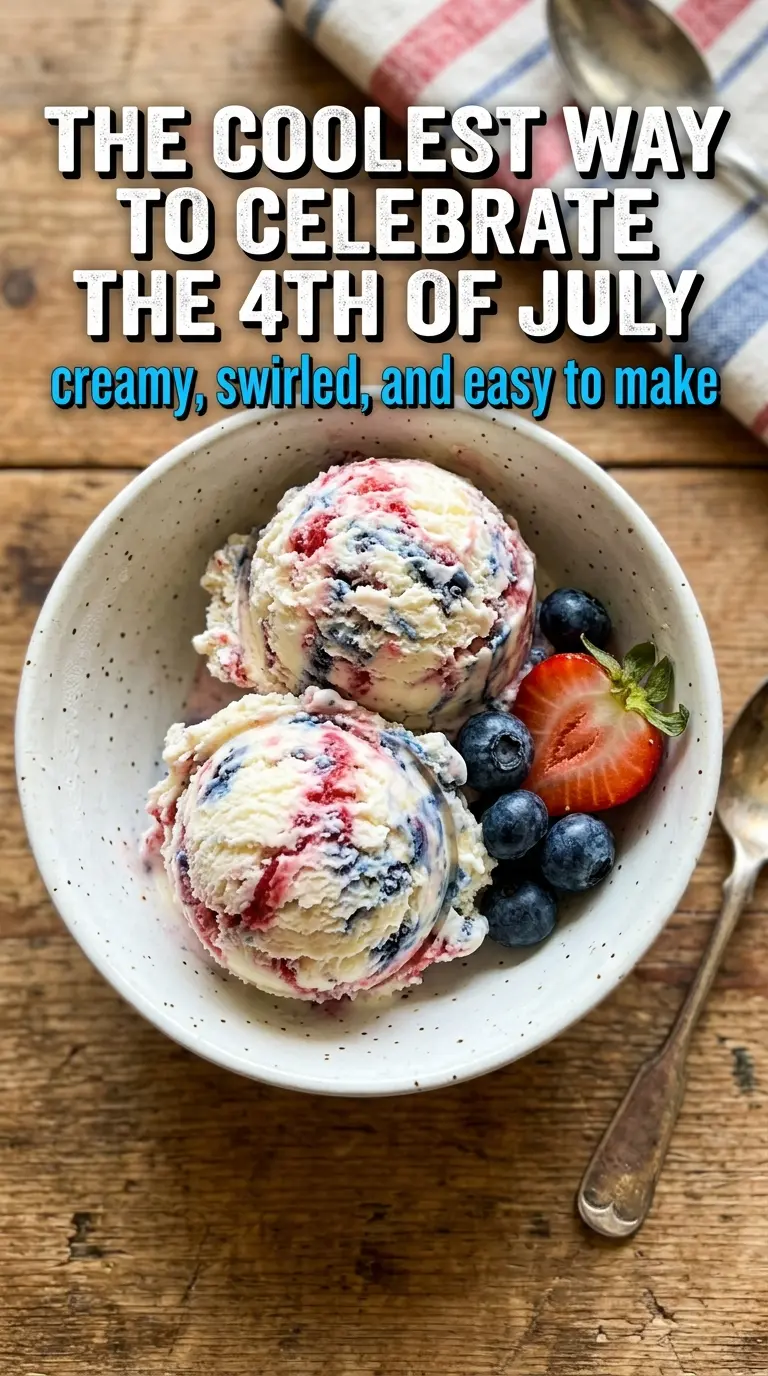
Red, white, and blue marble ice cream lands in the bowl with that soft, scoopable texture you want from no-churn ice cream, plus bright berry ribbons that stay distinct instead of turning the whole thing pink and muddy. The vanilla base is rich and clean, and the swirls bring just enough fruit to keep each bite interesting without fighting the creaminess. It looks festive, but what makes it worth making is how polished it tastes for something that only needs a bowl, a mixer, and a loaf pan.
The texture comes from whipping the cream to stiff peaks and then folding in the sweetened condensed milk gently enough to keep all that air in place. That airy base is what keeps the ice cream from freezing into a dense block. The other detail that matters is the puree consistency: thick enough to ribbon through the base, not so thin that it sinks or bleeds through the whole pan. If your fruit is watery, simmer it down first and cool it completely before swirling.
Below, you’ll find the exact point where the swirl should stop, why the order of the fruit layers matters, and how to keep the colors bold after freezing so each slice still looks like a celebration.
The ice cream turned out creamy and the strawberry and blueberry ribbons stayed separate after freezing, which made every scoop look gorgeous. I let it sit for about 8 minutes before serving and it scooped perfectly.
Love the bold red, white, and blue swirls? Save this marble ice cream for a no-churn dessert that looks festive and scoops like a dream.
The Swirl That Keeps the Colors Clean Instead of Pink
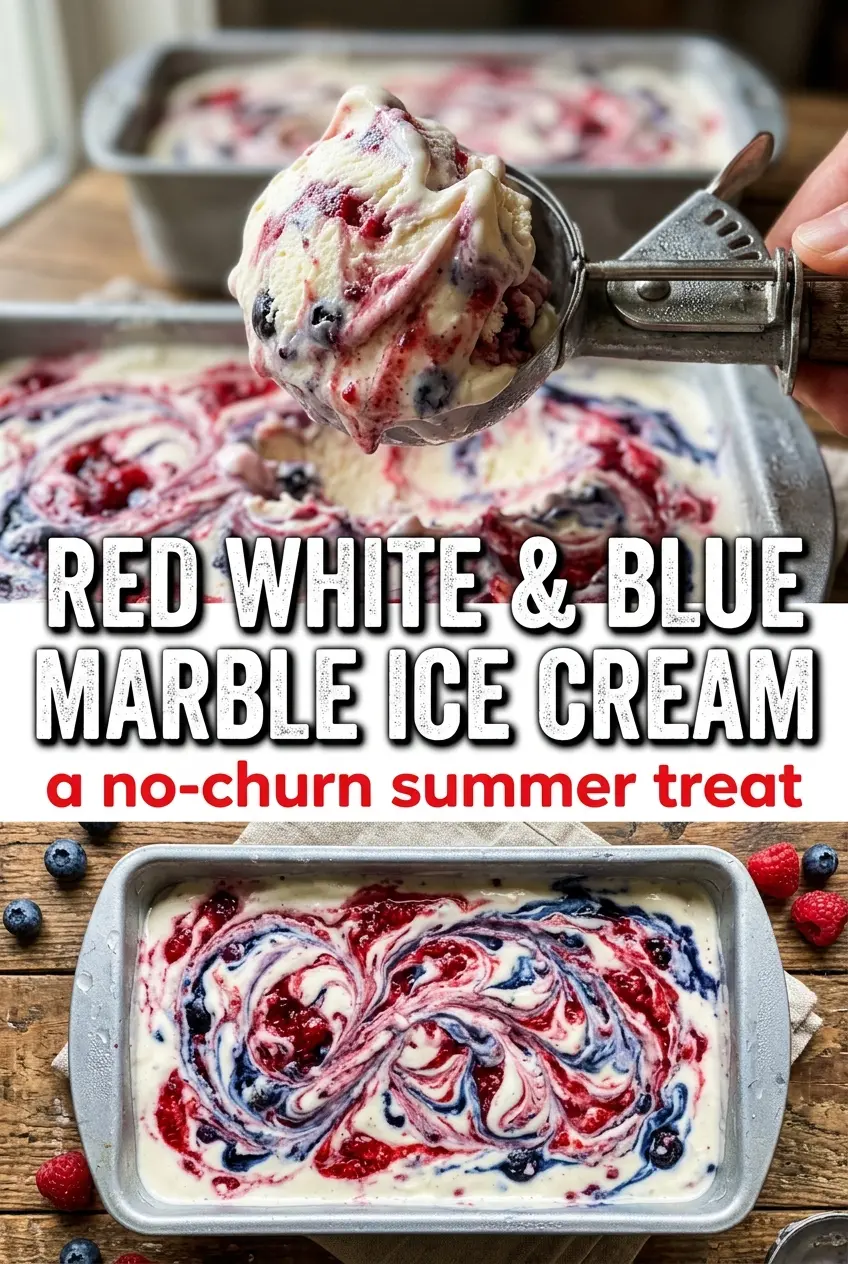
The biggest mistake with marble ice cream is overdoing the swirl. Once the berry purees hit the base, you only get a few passes with a knife before the colors start blending into one another. That’s how a dramatic red, white, and blue dessert turns into a pale purple pan. A light hand keeps the ribbons visible and gives every scoop a little surprise.
Another thing worth watching is the thickness of the base when you add the fruit. If the cream mixture is still loose, the puree will sink and collect on the bottom instead of sitting in pretty layers. By the time the base is fully folded and spread into the pan, it should hold its shape with soft peaks and look thick enough to mound slightly.
What Each Ingredient Is Actually Doing in This No-Churn Ice Cream
- Heavy whipping cream — This is what gives the ice cream its body and airy texture. Beat it until stiff peaks hold their shape when you lift the beater; if it’s underwhipped, the finished ice cream turns icy and loose.
- Sweetened condensed milk — It sweetens and softens the base without needing a cooked custard. Regular milk won’t work here because it adds water instead of richness, and that water freezes hard.
- Vanilla extract — Vanilla keeps the base tasting like ice cream instead of just cold cream. A good pure vanilla matters here because there isn’t a long ingredient list to hide behind.
- Strawberry puree — This should be smooth and thick enough to ribbon through the ice cream without disappearing. If it’s thin, cook it down a little so it clings instead of bleeding.
- Blueberry puree — Same idea as the strawberry puree, but the flavor is deeper and a little tangier. Strain it if you want a smoother finish, especially if the berries are seedy.
Building the Base, Swirling the Fruit, and Knowing When to Stop
Whipping the Cream to the Right Peak
Start with cold cream and a chilled bowl if you can. Beat it until the cream stands up in firm peaks and the tip doesn’t flop over; that structure is what keeps the ice cream light after freezing. If you stop too soon, the mixture won’t hold enough air. If you push past stiff peaks, the cream starts to look grainy and loses its smooth finish.
Folding Without Deflating
Add the sweetened condensed milk and vanilla, then fold slowly with a spatula until no white streaks remain. Work from the bottom of the bowl and turn the mixture over itself instead of stirring in circles. That keeps the whipped cream from collapsing, which is the difference between creamy scoops and a dense block. The final mixture should look thick, glossy, and uniform.
Creating the Marble Pattern
Spread the base evenly in the loaf pan, then drizzle the strawberry puree over one half and the blueberry puree over the other. Drag a knife through the pan in a few broad passes, stopping before the colors fully blend. You’re aiming for visible ribbons, not a mixed berry base. Cover the pan tightly so freezer odors don’t creep in while it sets.
Freezing Until Scoopable
Freeze the ice cream for at least 6 hours, and longer if your pan is deep or your freezer runs warm. It should feel firm all the way through, but not rock hard at the edges when you press the surface. If it’s too icy to scoop, let it sit on the counter for 5 to 10 minutes before serving. That short rest softens the base without melting the swirl pattern.
How to Adapt This for Different Diets and Different Batches
Dairy-Free Version
Use a coconut-based whipped topping and a dairy-free sweetened condensed milk substitute. The texture will be a little softer and you’ll taste a hint of coconut, but it still freezes into a scoopable marble ice cream with good contrast from the berry swirls.
Extra-Festive Berry Swaps
If you only have one berry puree, use extra strawberry and blueberry sauce in thicker ribbons instead of trying to force an exact split. The colors won’t be as sharply defined, but the flavor still reads as bright and celebratory.
Smaller or Larger Batch
Halve everything for a smaller loaf pan or double it for a second pan if you’re serving a crowd. Don’t cram a doubled batch into one pan unless you’re fine with a very deep center that takes longer to freeze and scoops unevenly.
Storage and Reheating
- Refrigerator: Not recommended. This ice cream melts quickly and won’t hold its texture in the fridge.
- Freezer: Keeps well for about 2 weeks with a tight cover. After that, the texture can start to pick up ice crystals and lose some of its creaminess.
- Reheating: Let it sit at room temperature for 5 to 10 minutes before scooping. If it’s frozen solid, a warm scoop dipped in hot water helps cut cleanly through the pan without shattering the marble pattern.
Answers to the Questions Worth Asking
Red White & Blue Marble Ice Cream
Ingredients
Equipment
Method
- Beat the heavy whipping cream on high until stiff peaks form, about 3–4 minutes, and the mixture holds ridged lines when you lift the beaters. Stop as soon as it’s thick to avoid graininess.
- Gently fold in the sweetened condensed milk and vanilla extract until the mixture is fully combined and smooth, with no streaks remaining. Keep folding slowly so the whipped texture stays airy.
- Pour the mixture into a loaf pan and spread it evenly so the surface is level for cleaner marbling.
- Drizzle the strawberry puree over one half and the blueberry puree over the other half, using a light hand to create distinct ribbons.
- Use a knife to swirl the purees through the base in a marbled pattern, making only a few swirls. Avoid overmixing so the colors don’t fully blend.
- Cover and freeze for at least 6 hours, or until firm, before scooping. Let it sit 3–5 minutes at room temperature for easier scooping.