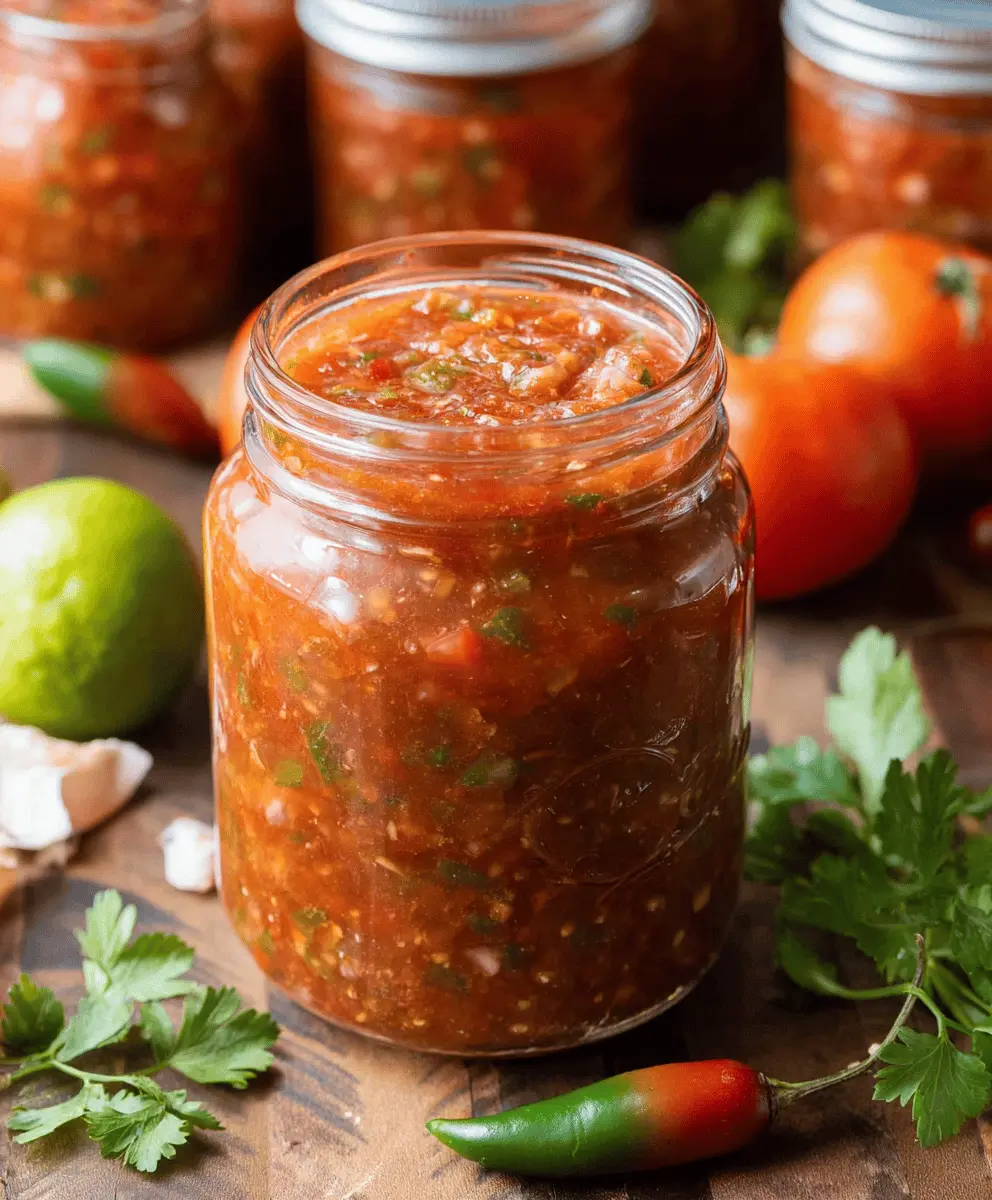
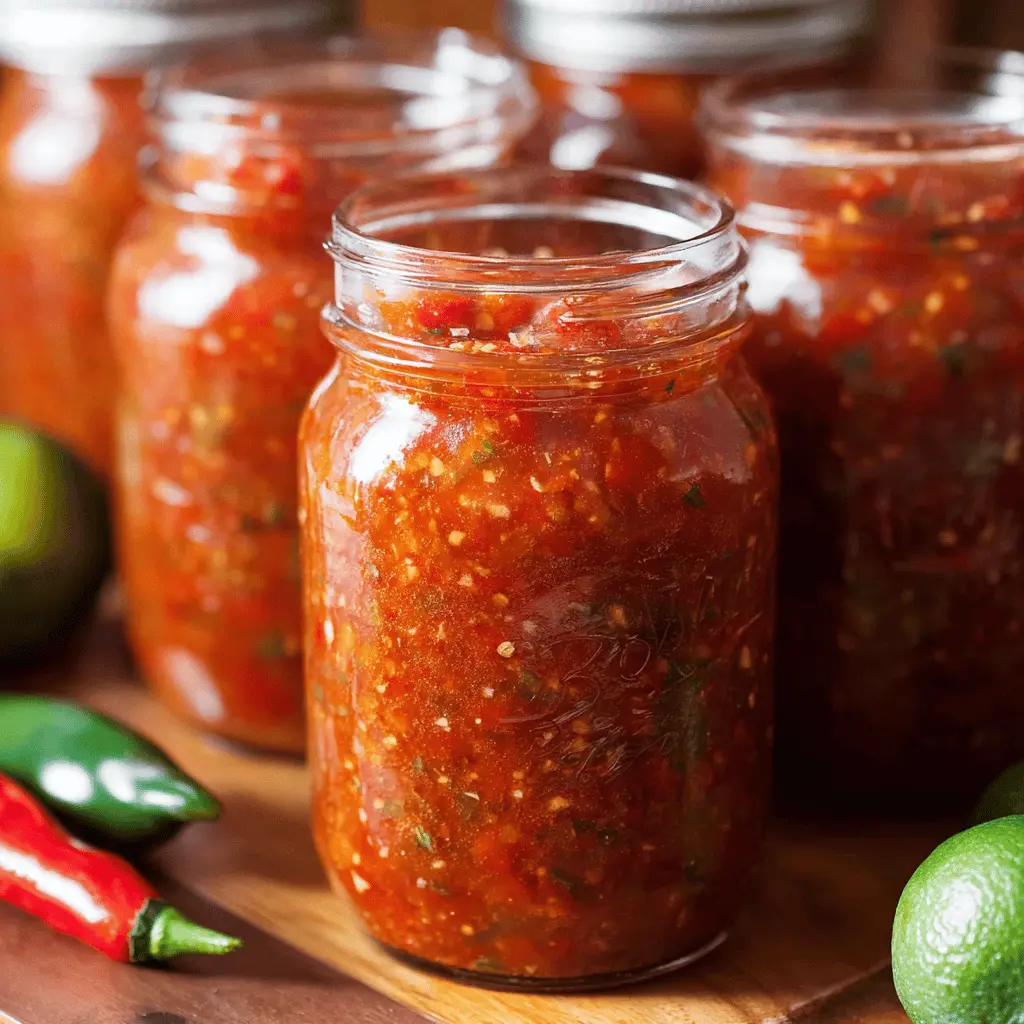
This easy homemade salsa is packed with fresh veggies like tomatoes, onions, and peppers. It’s perfect for canning and will brighten up any meal with its tasty flavors!
Making this salsa is a breeze! Just chop, mix, and can. I love to share it with friends and family—a little jar of deliciousness always brings smiles! 😄
Key Ingredients & Substitutions
Tomatoes: Fresh, ripe tomatoes are key for flavor. If tomatoes aren’t in season, canned tomatoes can work too. Just make sure they don’t have added salt.
Onions: I use yellow onions for sweetness, but red onions can add a nice color and flavor twist. If you want something milder, green onions are also a great choice.
Bell Peppers: Green bell peppers offer crunch. You can swap for red or yellow peppers for added sweetness and flavor. Feel free to mix and match!
Jalapeño Peppers: To control the heat, adjust the amount of jalapeños or remove their seeds. If you prefer a different flavor, try serrano or poblano peppers.
Vinegar: White vinegar provides acidity. You can use apple cider vinegar or red wine vinegar for a different taste, just ensure it has 5% acidity for preserving.
How Do I Ensure My Salsa Is Safe for Canning?
Safety in canning is crucial! To ensure your salsa is safe, always use a tested recipe like this one. Here are a couple of tips:
- Use bottled lemon juice, not fresh, for consistent acidity, which is vital for safety.
- Process jars in a boiling water bath for the recommended time. This kills harmful bacteria and seals the jars properly.
- After processing, let jars cool on a clean towel or cooling rack to avoid a temperature shock.
- Check for proper seals after cooling; any unsealed jars should be refrigerated and eaten within a week.
Enjoy making your salsa extra tasty and confidently canned for future meals!
Easy Homemade Salsa Recipe for Canning
Ingredients You’ll Need:
Fresh Produce:
- 10 cups peeled, seeded, and chopped tomatoes (about 10-12 medium tomatoes)
- 5 cups chopped onions (about 3 medium onions)
- 2 ½ cups chopped green bell peppers (about 3 medium peppers)
- 2 ½ cups chopped celery
- 1 ¼ cups chopped jalapeño peppers (remove seeds for milder salsa)
Flavor Additions:
- 1 cup bottled lemon juice
- 3 tbsp canning salt
- 2 tsp garlic powder
- 2 tbsp ground cumin (optional for added flavor)
- 1 ½ cups white vinegar (5% acidity)
- 2 tbsp sugar (optional, to balance acidity)
Time Needed:
This salsa recipe will take about 30-40 minutes to prepare, with an additional 15-20 minutes for processing in the water bath. Make sure to factor in cooling time of 12-24 hours after canning! In total, you’re looking at just under an hour of work, plus some patience as it cools and seals!
Step-by-Step Instructions:
1. Prepare Your Jars:
Before you begin, make sure to prepare your canning jars and lids. Wash them in hot soapy water and then sterilize them by boiling for 10 minutes or running them through a dishwasher on a hot cycle. This helps ensure your salsa stays safe and has a longer shelf life.
2. Mix the Ingredients:
In a large stockpot, combine the chopped tomatoes, onions, green bell peppers, celery, and jalapeño peppers. Mix everything thoroughly to get those vibrant flavors mixing together.
3. Add Seasonings:
Now, it’s time to add flavor! Pour in the bottled lemon juice, white vinegar, canning salt, garlic powder, ground cumin (if you’re using it), and sugar (if you like a hint of sweetness). Stir everything well until evenly combined.
4. Cook the Salsa:
Bring your mixture to a boil over medium-high heat. Once boiling, reduce the heat and let it simmer for about 10 minutes, stirring occasionally. This allows the flavors to meld together beautifully.
5. Jar the Salsa:
Using a ladle, carefully fill your prepared jars with the hot salsa, leaving about ½ inch of headspace at the top. This space is needed for the jars to seal properly.
6. Seal the Jars:
Take a clean, damp cloth and wipe the rims of each jar to remove any salsa residue, which helps ensure a good seal. Place the lids on the jars and screw on the bands until they feel fingertip tight. Don’t over-tighten!
7. Process the Salsa:
Fill a large pot with water and bring it to a boil. Process your jars in the boiling water bath for 15-20 minutes (time may vary based on your altitude). Make sure the jars are fully submerged in water.
8. Cool Down:
After processing, carefully remove the jars from the boiling water and place them on a clean towel or cooling rack. Allow them to cool undisturbed for 12-24 hours.
9. Check the Seals:
Once cooled, check each jar to make sure it’s sealed properly—lids should be concave and not flex when pressed in the center. If any jars didn’t seal, refrigerate them and enjoy within a week.
10. Storage:
Store your beautifully canned salsa in a cool, dark place. Enjoy it with chips, on tacos, or as a zesty addition to grilled meats and more! Refrigerate after opening to keep it fresh.
Happy canning and enjoy your delicious salsa all year round!
FAQ
Can I Use Different Types of Tomatoes?
Absolutely! While fresh Roma tomatoes are a popular choice for salsa due to their lower moisture content, you can use any ripe garden tomatoes. Just make sure to peel and seed them for the best texture in your salsa!
Can I Adjust the Level of Spiciness?
Yes! To control the heat, you can simply reduce the amount of jalapeño peppers you use or remove all the seeds and membranes for a milder flavor. If you like it spicier, add more jalapeños or try including some serrano peppers!
How Do I Store Leftover Salsa After Opening?
Once opened, keep the salsa refrigerated in an airtight container. It should last for about 1-2 weeks in the fridge. If you have leftover salsa that wasn’t canned, consume it within a week for optimal freshness.
Can I Make This Recipe Without Canning?
Definitely! If you prefer not to can your salsa, you can simply make a smaller batch and store it in the fridge. This salsa is best enjoyed fresh and can last about a week when refrigerated.