
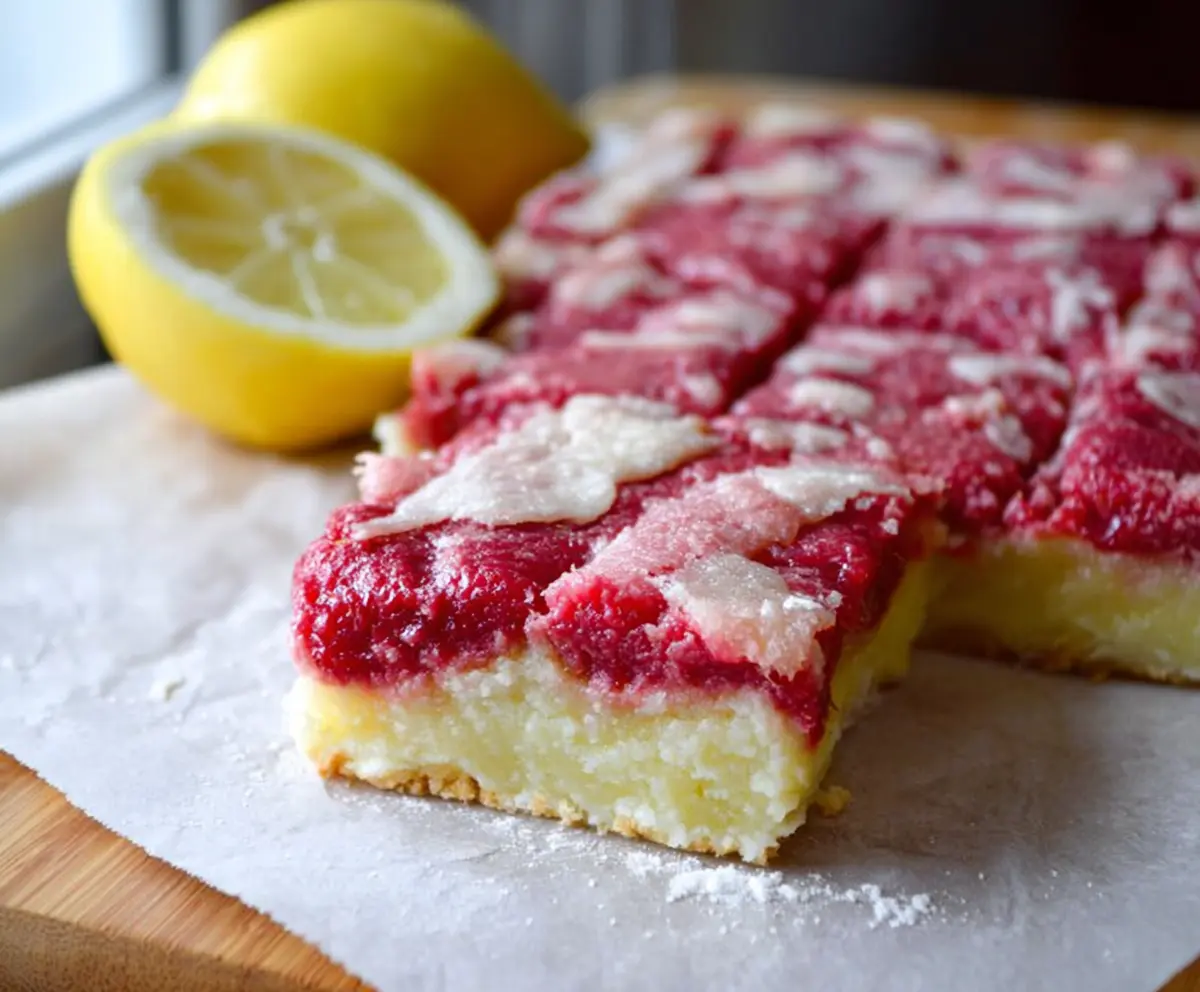
These bright and zesty raspberry lemon bars are a delightful treat! With a gluten-free crust and a fruity topping, they’re both tasty and easy to make.
I love the refreshing tang of lemon paired with sweet raspberries. It’s like sunshine in a dessert! Perfect for bringing a little joy to your day. 🍋✨
Key Ingredients & Substitutions
Gluten-Free All-Purpose Flour: This is crucial for a gluten-free crust. Brands like Bob’s Red Mill or King Arthur Flour work great. If you don’t have gluten-free flour, you can use almond flour or coconut flour, but the texture will change.
Butter: Unsalted butter is best for controlling saltiness. If you need a dairy-free option, coconut oil or a vegan butter can work well, although it may slightly alter the flavor.
Eggs: They provide structure and richness to the filling. For an egg-free version, you could substitute each egg with a flaxseed or chia seed mixture (1 tablespoon seeds with 2.5 tablespoons water, let sit until gel-like).
Raspberries: Fresh raspberries have a great flavor! However, if they’re out of season, you can use frozen ones. Just thaw them before mashing. Blueberries or strawberries could be fun substitutes too!
Lemon Juice & Zest: Freshly squeezed juice is the best for flavor. If lemons are unavailable, bottled juice works but may not taste as vibrant. Lime juice can be a zesty alternative too.
How Do I Get a Good Texture for the Crust?
The crust can be trickier than it seems! You want it to be crumbly yet hold together. Here’s how to make it perfect:
- Make sure your butter is cold. This helps create a flaky texture.
- When mixing the butter with the flour, aim for pea-sized pieces. This creates layers for a lighter crust.
- Don’t overwork the crust. Mix just until combined, then press it into the pan without packing it too tightly.
With these tips, you’ll have a delicious foundation for your raspberry lemon bars! Enjoy your baking! 🍋🫐
How to Make Gluten-Free Raspberry Lemon Bars
Ingredients You’ll Need:
For the Crust:
- 1 cup gluten-free all-purpose flour
- 1/4 cup granulated sugar
- 1/2 cup unsalted butter, cold and cut into cubes
- 1/4 tsp salt
For the Lemon Filling:
- 3 large eggs
- 1 cup granulated sugar
- 2 tbsp gluten-free all-purpose flour
- 1/4 cup freshly squeezed lemon juice (about 2 lemons)
- 1 tsp lemon zest
For the Raspberry Topping:
- 1 cup fresh or frozen raspberries
- 2 tbsp granulated sugar
- 1 tsp lemon juice (optional)
Optional Garnish:
- Powdered sugar for dusting
How Much Time Will You Need?
This delicious recipe takes about 15 minutes of prep time and 45 minutes total cooking time. You’ll wait around 2 hours for it to set in the refrigerator after baking. So, plan for a cozy afternoon of cooking and chilling!
Step-by-Step Instructions:
1. Preheat and Prepare the Pan:
First, preheat your oven to 350°F (175°C). Line an 8×8 inch baking pan with parchment paper, letting some hang over the edges. This will make it super easy to lift the bars out later!
2. Make the Crust:
In a medium bowl, mix the gluten-free flour, granulated sugar, and salt together. Then, add the cold butter cubes. Using a pastry cutter or your fingers, work the butter into the flour until it looks like coarse crumbs. This is going to be your crust!
3. Bake the Crust:
Press the crust mixture evenly into the bottom of the prepared pan. Bake in the preheated oven for 15-18 minutes, or until it’s lightly golden. Once done, remove it from the oven but keep the oven on for the next step.
4. Prepare the Lemon Filling:
In a mixing bowl, whisk together the eggs, sugar, gluten-free flour, lemon juice, and lemon zest until it’s nice and smooth. This filling is going to be bright and lovely!
5. Assemble Everything:
Pour the lemon filling evenly over the pre-baked crust. Make sure it spreads out nicely across the surface.
6. Mash the Raspberries:
In a small bowl, mash the raspberries with sugar and optional lemon juice. You want it to be slightly broken down but still chunky. This adds lovely texture and flavor to the bars!
7. Add the Raspberry Layer:
Spoon the raspberry mixture evenly over the lemon layer. Use a knife to gently swirl the raspberries into the lemon filling for that beautiful marbled effect.
8. Bake Again:
Pop the whole pan back in the oven and bake for another 20-25 minutes, or until the lemon filling is set and slightly golden on top. It smells amazing, trust me!
9. Cool and Chill:
Once baked, remove from the oven and let the bars cool completely at room temperature. Then, refrigerate for at least 2 hours to set. Patience is key here!
10. Cut and Serve:
When fully set, lift the bars out using the parchment paper overhang and place on a cutting board. Cut into squares. If you like, dust the tops with powdered sugar before serving!
Enjoy your refreshing, gluten-free raspberry lemon bars—perfectly tangy and sweet with a buttery crust!
Can I Use a Different Type of Flour?
Yes! While this recipe uses gluten-free all-purpose flour, you can substitute it with almond flour or coconut flour. Keep in mind that this will change the texture; almond flour will yield a richer density, while coconut flour absorbs more moisture, so you might need to adjust the liquid in the recipe.
How Can I Store Leftover Raspberry Lemon Bars?
Store leftover bars in an airtight container in the refrigerator for up to 3-4 days. For longer storage, you can freeze them for up to 2 months. Just make sure to wrap them individually in plastic wrap and then place them in an airtight freezer bag to prevent freezer burn.
Can I Make These Bars Vegan?
Absolutely! Substitute the eggs with a flaxseed or chia seed mixture: combine 1 tablespoon of ground seeds with 2.5 tablespoons of water per egg, and let it sit until it thickens. For the butter, use a plant-based alternative or coconut oil to keep it vegan.
What If I Don’t Have Fresh Raspberries?
No worries! You can use frozen raspberries instead. Just make sure to thaw them and drain any excess liquid before mashing. Alternatively, you could also swap them out for blueberries or strawberries for a different flavor!