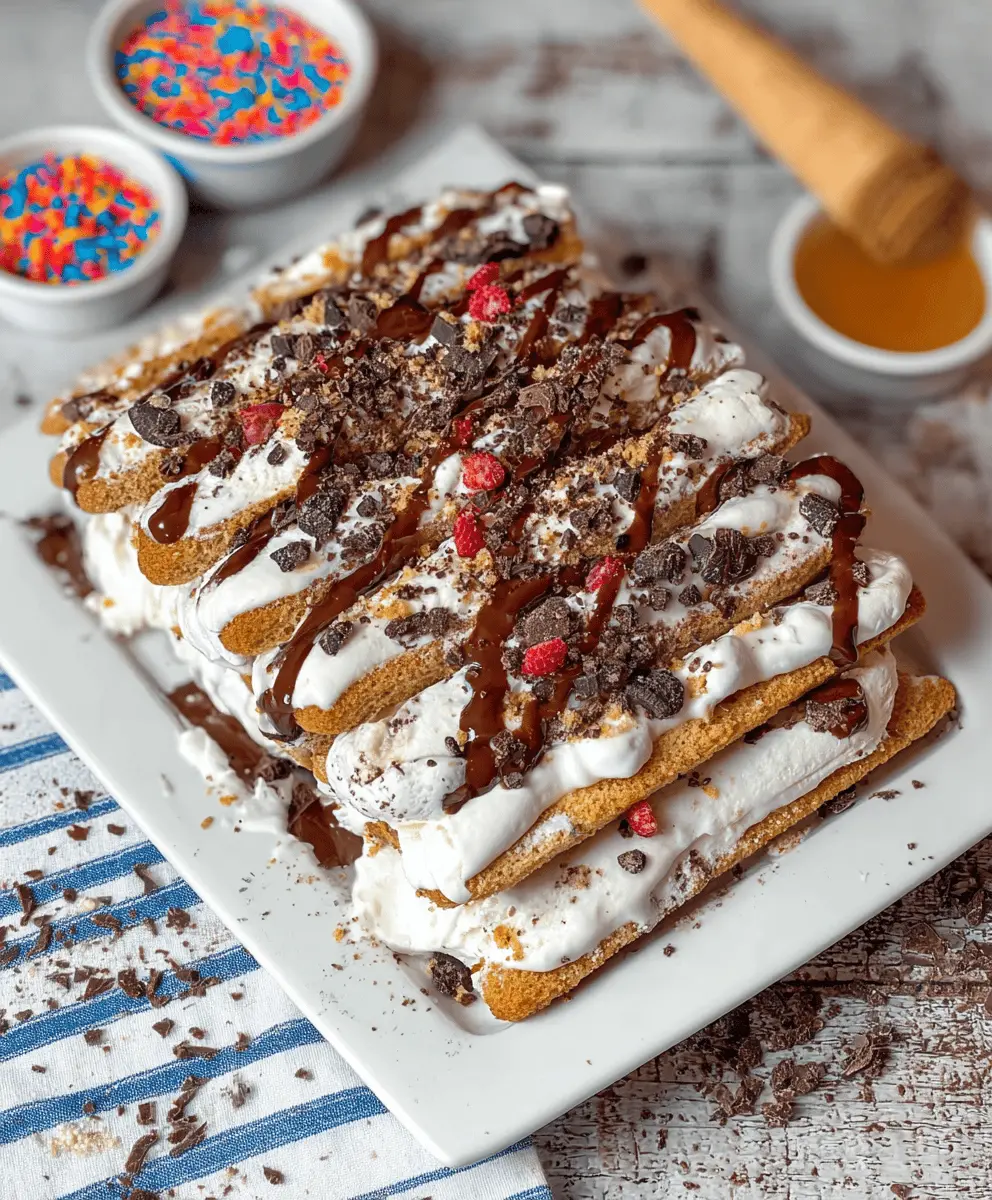
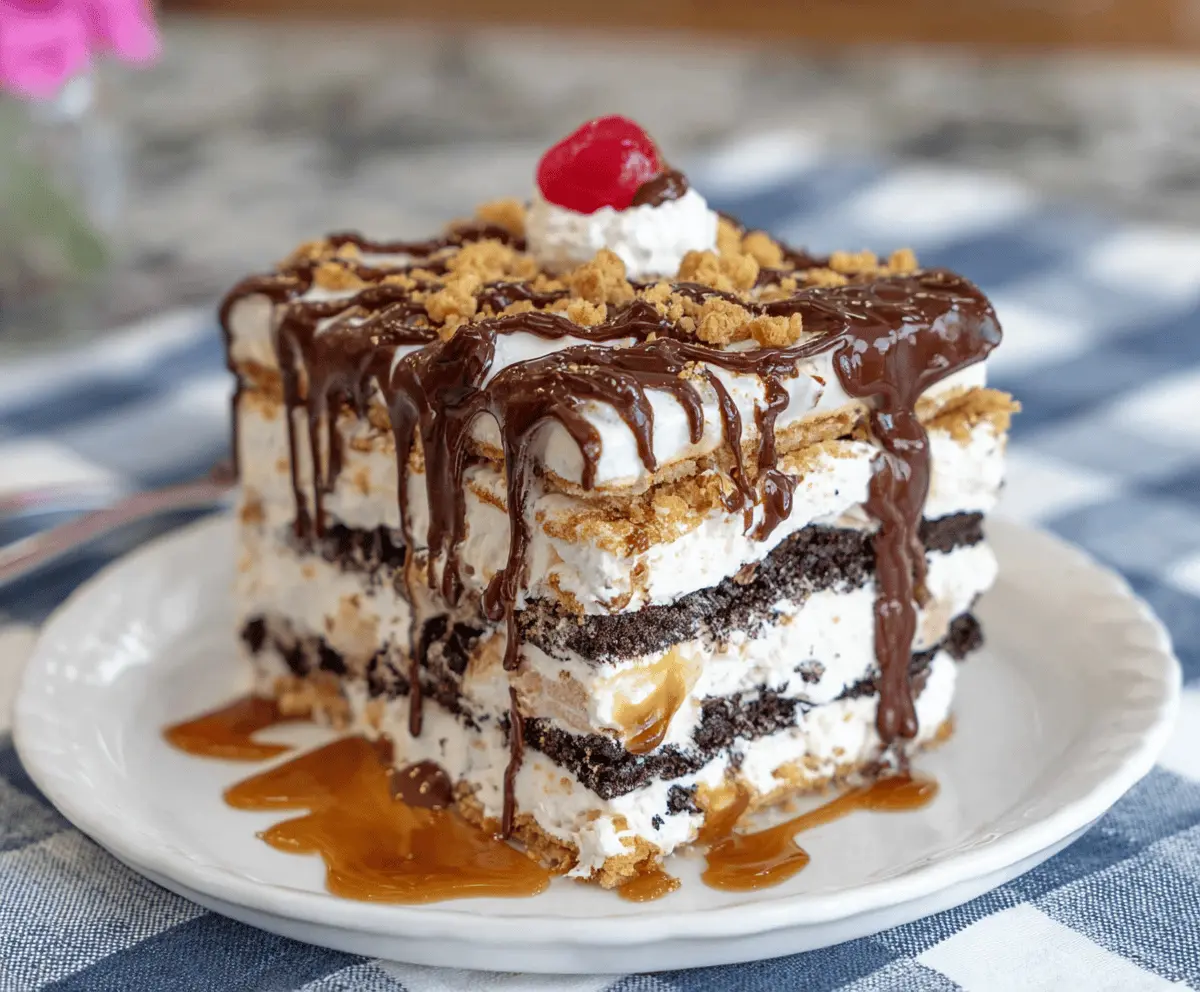
This Easy No-Bake Ice Cream Sandwich Cake is as fun to make as it is to eat! With layers of chocolate and vanilla ice cream sandwiches, it’s both creamy and cool.
No oven? No problem! Just stack those sandwiches, add some whipped cream, and chill. I love slicing into it like a cake—it feels fancy, but it’s super easy! 🍦
Key Ingredients & Substitutions
Ice Cream Sandwiches: You can choose between vanilla or chocolate ice cream sandwiches based on your taste. If you’re feeling adventurous, try using different flavors like mint or cookies and cream!
Whipped Cream: I recommend using homemade whipped cream for a fresher taste, but store-bought works well for convenience. For a lighter option, you might even try whipped topping.
Chocolate Syrup or Hot Fudge: While chocolate syrup adds sweetness, hot fudge sauce delivers a richer flavor. For a healthier alternative, consider using a fruit sauce like strawberry or caramel sauce, depending on your preference.
Optional Toppings: Feel free to get creative! Nuts add a nice crunch, while fresh berries can bring a bright flavor. If you want a fun twist, add colored sprinkles for a festive look.
How Do I Layer This Cake Perfectly?
Layering is key to achieving that perfect slice of ice cream sandwich cake. Here’s how you can do it effectively:
- Start with a firm base of ice cream sandwiches. Place them snugly without gaps.
- When spreading whipped cream, be gentle to maintain the sandwiches’ shape, ensuring it covers the ice cream well.
- Drizzle the sauce carefully so it doesn’t spill over the sides; concentrate on the center.
- Repeat the assembly; make each layer consistent, so the final cake slices beautifully.
- Finally, freeze the cake well—this helps the layers set and makes slicing easier when you’re ready to serve.

Easy No-Bake Ice Cream Sandwich Cake
Ingredients You’ll Need:
- 12 ice cream sandwiches (vanilla or chocolate, your choice)
- 3 cups whipped cream (store-bought or homemade)
- 1/2 cup chocolate syrup or hot fudge sauce
- Optional toppings: chocolate chips, sprinkles, crushed nuts, or fresh berries
How Much Time Will You Need?
This delightful ice cream sandwich cake takes about 15 minutes to prepare, plus 2-3 hours to freeze and set. So, plan your time wisely—you’ll want to make this in advance for the best results!
Step-by-Step Instructions:
1. Arrange the Base:
Grab a loaf pan or a rectangular dish. Start by laying down a single layer of ice cream sandwiches side by side, making sure to cover the entire bottom. This will be your delicious base!
2. Add the Whipped Cream:
Next, scoop about 1 cup of whipped cream and spread it evenly over the first layer of ice cream sandwiches. This adds a fluffy layer that balances out the richness of the ice cream.
3. Drizzle Some Chocolate:
Now, take your chocolate syrup or hot fudge sauce and drizzle a few tablespoons over the whipped cream. Spread it gently to ensure every bite has a sweet surprise!
4. Repeat the Layers:
It’s time to build the next layer! Add another layer of ice cream sandwiches followed by more whipped cream and a drizzle of chocolate syrup, just like before. Conclude with a final layer of ice cream sandwiches on top.
5. Top It Off:
Spread the remaining whipped cream over the last layer of ice cream sandwiches until everything is well covered. This makes for a beautiful finish!
6. Sprinkle on Toppings:
Now comes the fun part! If you want, add any optional toppings like chocolate chips, sprinkles, or crushed nuts on top for extra flair and crunch. Get creative!
7. Freeze Until Firm:
Cover your cake with plastic wrap and pop it in the freezer for at least 2-3 hours. This chilling time is crucial for the cake to set up nicely.
8. Serve and Enjoy:
When you’re ready to serve, let the cake sit out at room temperature for about 5-10 minutes. This will make it easier to slice. Then grab a knife, cut yourself a piece, and enjoy the cool, delicious layers of your ice cream sandwich cake!

FAQ about Easy No-Bake Ice Cream Sandwich Cake
Can I Use Different Flavors of Ice Cream Sandwiches?
Absolutely! Feel free to mix and match flavors. You can use a combination of vanilla, chocolate, or even mint ice cream sandwiches for a fun twist.
How Do I Store Leftovers?
Leftovers can be stored in an airtight container in the freezer for up to one week. Just make sure to wrap it well to prevent freezer burn and preserve the best texture.
Can I Make This Cake in Advance?
Yes, this cake is perfect for making ahead of time! You can prepare it up to 2 days in advance. Just keep it tightly wrapped in the freezer until you’re ready to serve.
What Are Some Alternative Toppings?
Get creative with your toppings! You can add fresh fruits like strawberries or bananas, cookie crumbles, or even drizzle with caramel sauce for a different flavor profile. Customize it to your liking!