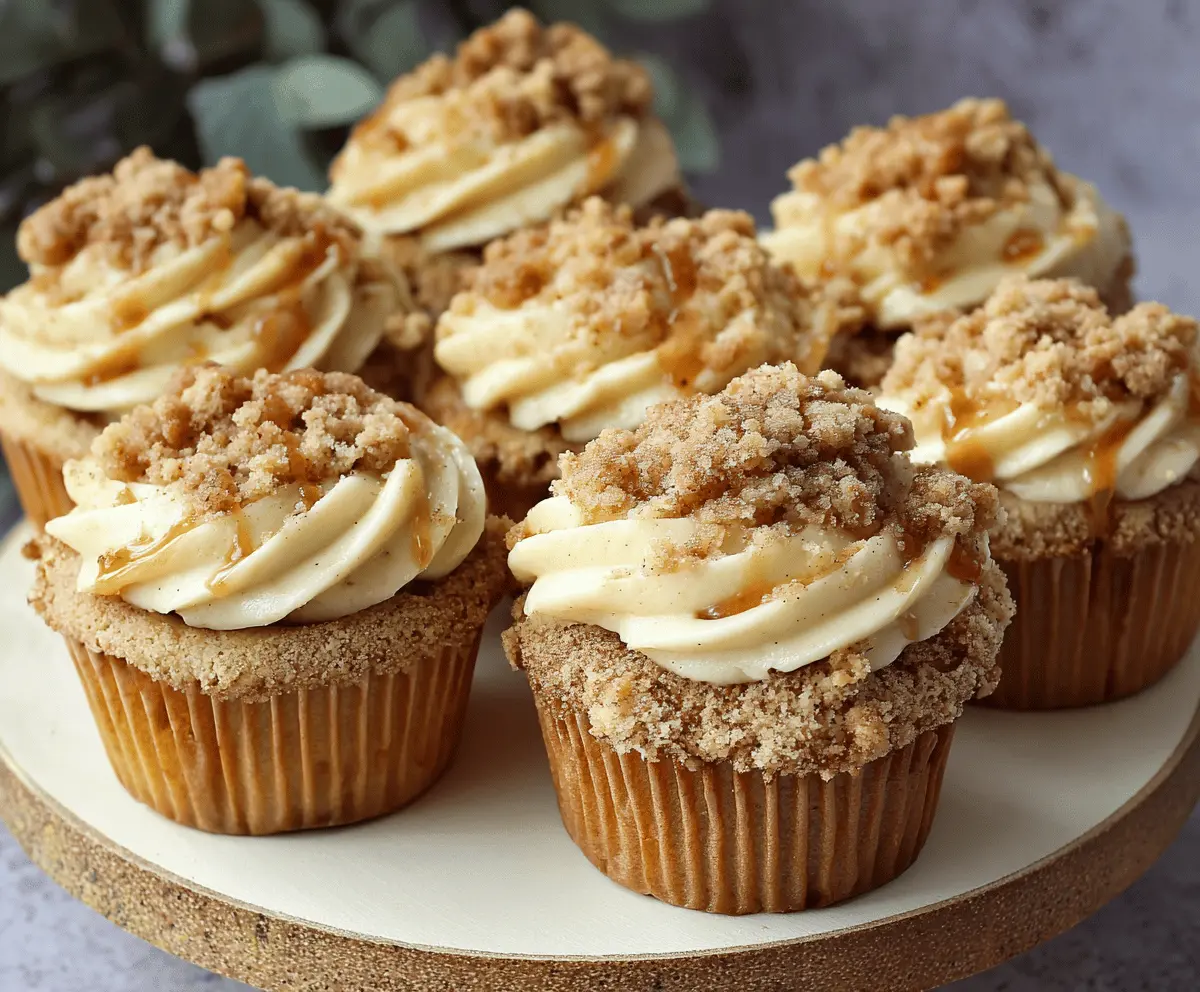
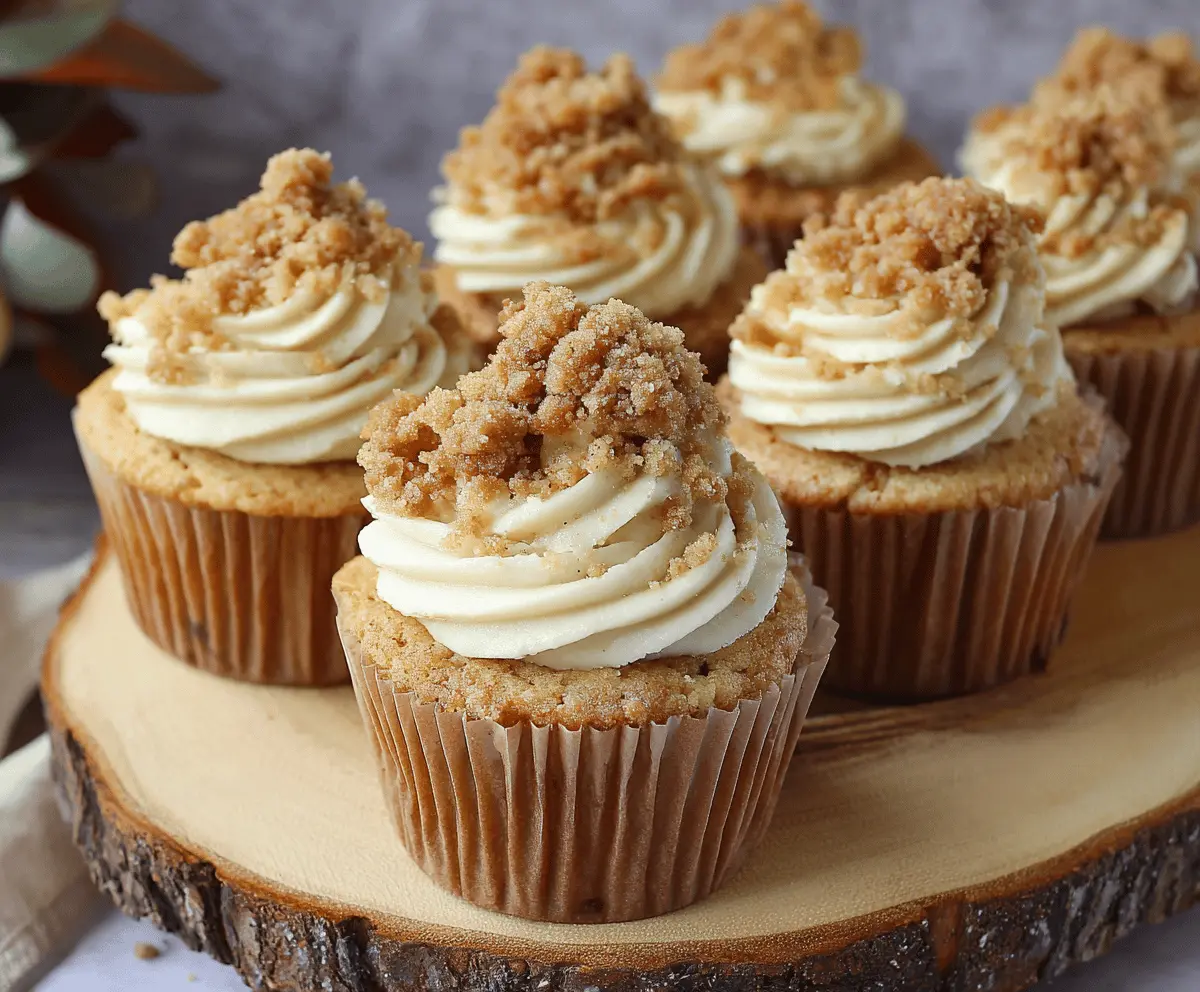
These Easy Apple Crumble Cupcakes are a warm hug in dessert form! Sweet apple bits and crunchy crumble on top make each bite a treat you’ll love.
Truth be told, I can’t resist the magic of cupcakes, especially with that delicious crumble. They vanish fast in my house—better make a double batch! 😄
Plus, they’re super simple to whip up. Just mix, bake, and enjoy! I love serving them warm with a scoop of vanilla ice cream for extra yum!
Key Ingredients & Substitutions
All-Purpose Flour: This is used for structure. If you need a gluten-free option, try a 1:1 gluten-free flour blend. I’ve had good success with these blends in cupcakes!
Apples: I love using Granny Smith for their tartness, which balances the sweetness of the sugar. Honeycrisp or Fuji are also great options. If apples aren’t in season, consider using unsweetened applesauce as a substitute—just reduce the sugar a bit.
Sour Cream or Yogurt: Both add moisture and richness. If you want a lower-fat option, Greek yogurt works well. For dairy-free, choose a non-dairy yogurt that’s unsweetened.
Brown Sugar: This adds a deeper flavor. You can use white sugar if you don’t have brown, though you’ll miss out on that lovely caramel-like taste.
How Can I Ensure My Cupcakes Come Out Light and Fluffy?
To achieve that perfect light and fluffy texture, pay attention when mixing your ingredients. Start by creaming the eggs and sugar until they’re pale and airy. This incorporates air, which helps your cupcakes rise.
- When adding dry ingredients, mix gently until just combined. Overmixing can make cupcakes dense, which we want to avoid.
- Make sure your baking powder and soda are fresh; they are essential for proper rising!
Lastly, let the batter rest for a few minutes before baking—it helps with moisture distribution for a lighter result.
Easy Apple Crumble Cupcakes
Ingredients You’ll Need:
For the Cupcakes:
- 1 ½ cups all-purpose flour
- 1 tsp baking powder
- ½ tsp baking soda
- ½ tsp ground cinnamon
- ¼ tsp salt
- 2 large eggs
- ¾ cup granulated sugar
- ½ cup unsalted butter, melted and cooled
- ½ cup sour cream or plain yogurt
- 1 tsp vanilla extract
- 1 ½ cups peeled and diced apples (such as Granny Smith or Honeycrisp)
For the Crumble Topping:
- ½ cup all-purpose flour
- ⅓ cup brown sugar, packed
- ¼ cup cold unsalted butter, cubed
- ½ tsp ground cinnamon
How Much Time Will You Need?
This recipe takes about 15 minutes of prep time and around 20-25 minutes for baking. After that, you’ll want to let the cupcakes cool for about 5 minutes in the pan before transferring them to a wire rack to cool completely. Overall, you’ll spend about 40-45 minutes, and then you get to enjoy these yummy treats!
Step-by-Step Instructions:
1. Preheat the Oven:
Start by preheating your oven to 350°F (175°C). Line a 12-cup muffin tin with cupcake liners so the cupcakes don’t stick.
2. Mix the Dry Ingredients:
In a medium bowl, whisk together the flour, baking powder, baking soda, cinnamon, and salt. This will ensure that everything is well combined and will help the cupcakes rise nicely.
3. Beat the Eggs and Sugar:
In a large bowl, beat the eggs and sugar together until the mixture is light and fluffy. This should take a few minutes! It adds air to the batter, making the cupcakes fluffy.
4. Combine Wet Ingredients:
Add the melted butter, sour cream (or yogurt), and vanilla extract to the egg mixture. Mix everything together until it’s well combined.
5. Fold in the Dry Ingredients:
Gradually add the dry mixture to the wet mixture. Mix gently until everything is just combined. Be careful not to overmix; a few lumps are perfectly fine!
6. Add the Apples:
Fold in the diced apples evenly into the batter. They’ll add a lovely sweetness and moisture to the cupcakes.
7. Fill the Cupcake Liners:
Divide the batter evenly among the cupcake liners, filling each about 2/3 full. This gives them room to rise!
8. Make the Crumble Topping:
In a small bowl, combine the flour, brown sugar, and cinnamon for the crumble topping. Use a pastry cutter or your fingers to cut in the cold butter until the mixture resembles coarse crumbs.
9. Add the Crumble Topping:
Sprinkle the crumble topping evenly over each cupcake. This will create a delicious crunchy layer on top!
10. Bake:
Place your muffin tin in the oven and bake for 20-25 minutes. You can check if they’re done by inserting a toothpick into the center; if it comes out clean, they’re ready!
11. Cool the Cupcakes:
Once baked, let the cupcakes cool in the pan for about 5 minutes. Then, transfer them to a wire rack to cool completely. Patience is key here!
12. Serve & Enjoy:
These cupcakes can be served warm or at room temperature. If you’re feeling indulgent, top them with a scoop of vanilla ice cream or a dusting of powdered sugar. Enjoy every bite of these apple-spiced delights!
These cupcakes are a wonderful treat with their moist apple-filled cake and crunchy crumble topping. Perfect for cozy gatherings or just because!
Frequently Asked Questions
Can I Use Different Fruits in These Cupcakes?
Absolutely! While apples give a wonderful flavor and texture, you can substitute with pears, diced peaches, or even berries. Just be mindful of the moisture content; if using juicier fruits, you might want to reduce the amount of other wet ingredients slightly.
How Do I Store Leftover Cupcakes?
Store leftovers in an airtight container at room temperature for up to 3 days. If you want them to last longer, you can refrigerate them for up to a week. Just make sure to bring them back to room temperature before serving for the best texture.
Can I Make These Cupcakes Gluten-Free?
Yes! Substitute the all-purpose flour with a 1:1 gluten-free flour blend. Make sure it contains xanthan gum or add a pinch to ensure proper texture. The cupcakes will be just as delicious!
What’s the Best Way to Thaw Frozen Cupcakes?
If you’ve made a batch and frozen some, let them thaw in the fridge overnight. If you’re short on time, you can leave them out at room temperature for a couple of hours—just ensure they’re well-covered to prevent drying out!