Golden sourdough, sharp cheddar, crispy bacon, and tender turkey turn into a sandwich that eats like a diner lunch but comes together in about 20 minutes. The bread gets deeply toasted before the cheese fully melts, so every bite gives you crunch first, then that salty, gooey center that holds together instead of sliding apart. Add the arugula and tomato at the end and you get just enough freshness to keep the whole thing from feeling heavy.
The trick here is building the sandwich in layers that actually work on the griddle. Dijon goes on one side because it cuts through the richness, while mayonnaise helps keep the turkey moist and adds a little more browning insurance. Softened butter on the outside is what gives the bread that even, crisp crust without burning before the cheddar has time to melt.
Below, I’ll walk through the small details that matter most, including how to keep the bread from getting greasy and how to swap the fillings without losing that same satisfying melt.
The bread got perfectly crisp before the cheese was done melting, and the Dijon with the bacon gave it that deli-style bite I was hoping for. I added the tomato at the end like you said and it stayed from getting soggy.
Pin this cheddar and bacon turkey melt on sourdough for the kind of crispy, melty sandwich that solves lunch without any fuss.
The Trick to Melting the Cheese Without Burning the Bread
The mistake with grilled sandwiches is cranking the heat and hoping the cheese keeps up. That usually gives you dark bread and a cold center. Medium heat is the sweet spot here because the butter has time to brown evenly while the cheddar softens and collapses into the turkey and bacon.
Another thing that helps: keep the fillings balanced and don’t overload the sandwich. Thick-cut bacon and deli turkey bring enough bulk on their own, so eight slices of cheese across four sandwiches is plenty. If you pack too much in, the bread can’t sit flat in the skillet, and that’s when parts of the sandwich scorch before the middle warms through.
What Each Layer Is Doing in This Sandwich
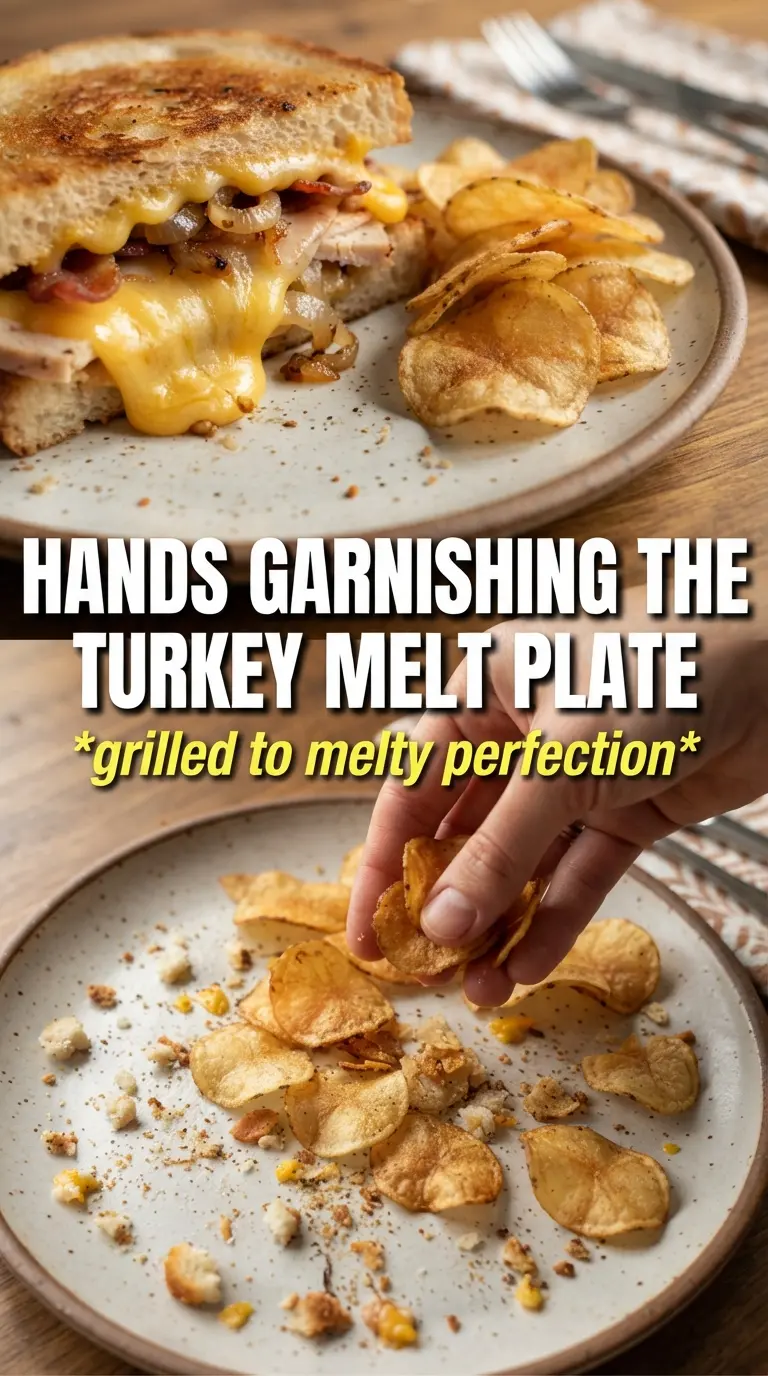
- Sourdough bread — The sturdy structure and tangy flavor matter here. It holds up better than soft sandwich bread, especially once the cheese starts to melt. If you swap it, choose another bread with enough chew to stand up to the bacon and turkey.
- Sharp cheddar — This is the cheese that gives the sandwich its bite and that stretchy, molten center. Mild cheddar works, but it tastes flatter. Pre-sliced cheese is fine here if it melts evenly; just don’t use a cheese that stays oily and separate.
- Dijon mustard and mayonnaise — Dijon brings sharpness, while mayonnaise adds richness and helps the turkey stay juicy. You can swap in whole grain mustard if you want texture, but don’t skip both condiments or the sandwich eats dry.
- Thick-cut bacon — This is the salty, smoky crunch that makes the melt feel complete. Cook it until it’s crisp before it goes in the sandwich; if it’s limp, it softens under the heat and the texture falls flat.
- Arugula or mixed greens and tomato — These go in at the end so they stay fresh instead of steaming. Arugula gives peppery bite; tomato adds juiciness. Pat the tomato slices dry so they don’t leak into the bread.
Building the Sandwich So the Center Melts and the Outside Stays Crisp
Butter the Bread First
Spread the softened butter on the outside of every slice before anything else. That gives you an even, golden crust instead of patchy spots that brown at different speeds. If the butter is cold, it tears the bread, so let it soften on the counter until it spreads without resistance.
Stack the Fillings on the Mustard Side
Build the sandwich on the Dijon side with turkey, bacon, and cheddar. The mustard sits against the cheese and meat, so its sharpness gets carried through every bite. Keep the layers even, especially at the edges, or those corners will toast faster than the center and start falling apart.
Cook Low Enough for the Cheese to Catch Up
Set the skillet or griddle over medium heat and let the sandwiches cook butter-side down first. Press lightly with a spatula only once or twice; if you mash them constantly, the fillings squeeze out and the bread gets dense. Flip when the first side is deep golden and the cheese is visibly softening at the edges, not long after the bread turns pale brown.
Finish With the Greens and Tomato
Open the sandwich and add the arugula and tomato after it comes off the heat. That keeps the greens bright and the tomato from turning the bread soggy while the cheese is still soft. Slice on a diagonal right away so you get that clean, stacked cross-section with the melted cheddar showing.
How to Adapt This Sandwich for Different Preferences
Dairy-Free Version With the Same Crunch
Use a dairy-free butter and a meltable plant-based cheese. The sandwich still browns well, but the cheese may soften more than stretch, so keep the heat moderate and give it a little extra time in the pan.
Gluten-Free Swap That Still Holds Together
Use a sturdy gluten-free sandwich bread with a firm crumb. Softer GF breads can split when you flip them, so toast the sandwich a touch longer over medium-low heat and use a thin spatula to turn it carefully.
Lighter Version Without Losing the Melt
Cut back to one slice of cheddar per sandwich and use less butter on the outside, then cook it on a well-heated nonstick skillet. You’ll lose a little richness, but the sandwich still gets crisp and satisfying.
Make-It-Your-Own Add-Ins That Work
A few thin slices of red onion or pickled jalapeños fit in well if you want more bite. Keep the add-ins light so they don’t crowd out the cheese, or the sandwich turns slippery and hard to grill evenly.
Storage and Reheating
- Refrigerator: Store leftovers wrapped tightly for up to 2 days. The bread softens a little, especially where the tomato sits.
- Freezer: Freezing isn’t ideal once the sandwich is assembled because the greens and tomato lose their texture. If you want to prep ahead, freeze just the turkey and bacon, then assemble fresh.
- Reheating: Reheat in a skillet over low to medium-low heat, covered for the first minute so the cheese loosens before the bread burns. The common mistake is using the microwave, which makes the sourdough leathery and the bacon rubbery.
Questions I Get Asked About This Recipe
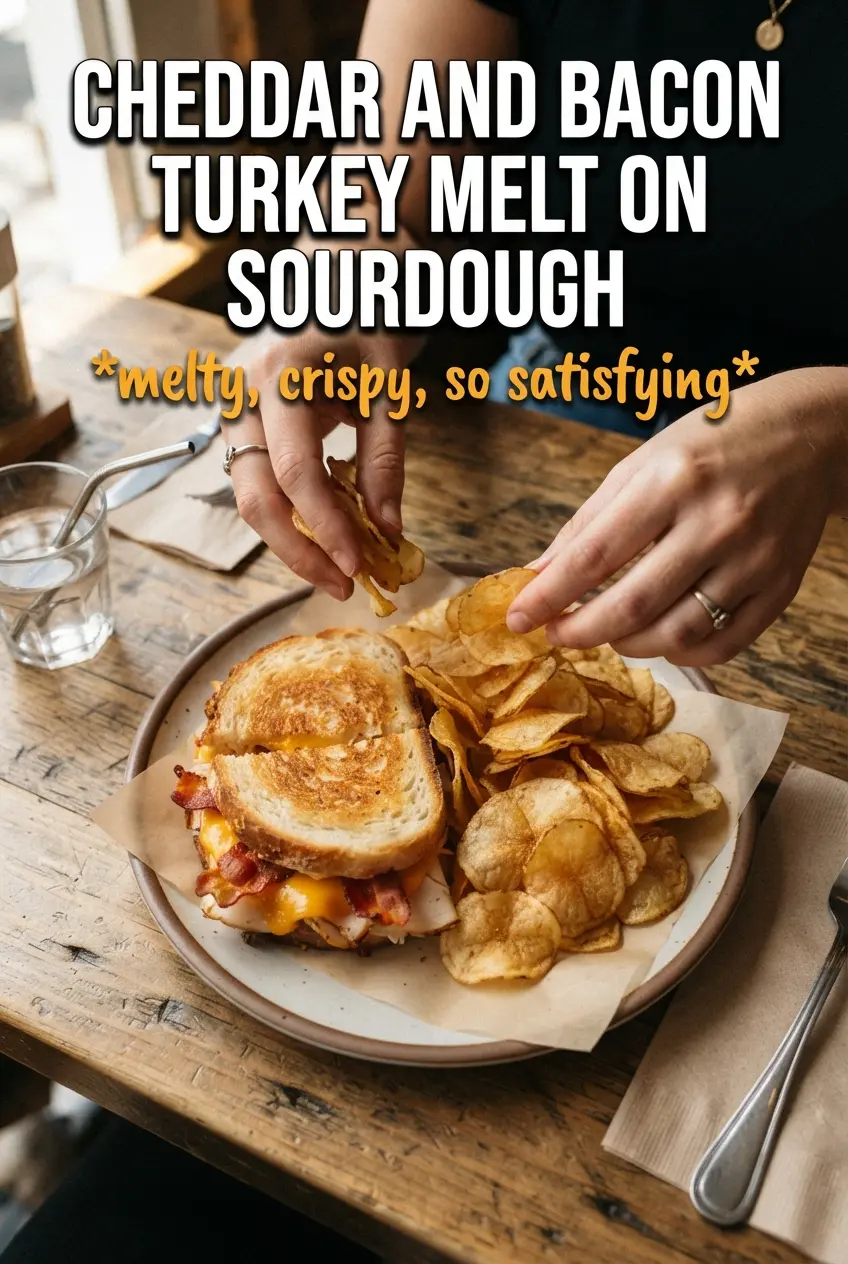
Cheddar And Bacon Turkey Melt On Sourdough
Ingredients
Equipment
Method
- Cook the thick-cut bacon until crispy, then drain and set aside for layering.
- Spread softened unsalted butter on one side of each sourdough bread slice.
- Flip the bread over and spread Dijon mustard on half the slices and mayonnaise on the other half.
- Layer sliced deli turkey breast, crispy bacon, and sharp cheddar cheese on the Dijon side of the bread.
- Heat a skillet or griddle over medium heat, place sandwiches butter-side down, and top with the mayonnaise-spread slices butter-side up.
- Cook the sandwiches 3-4 minutes per side until golden and cheddar is fully melted.
- Open each sandwich and add arugula or mixed greens and ripe tomato slices inside.
- Press the sandwiches closed and serve immediately.