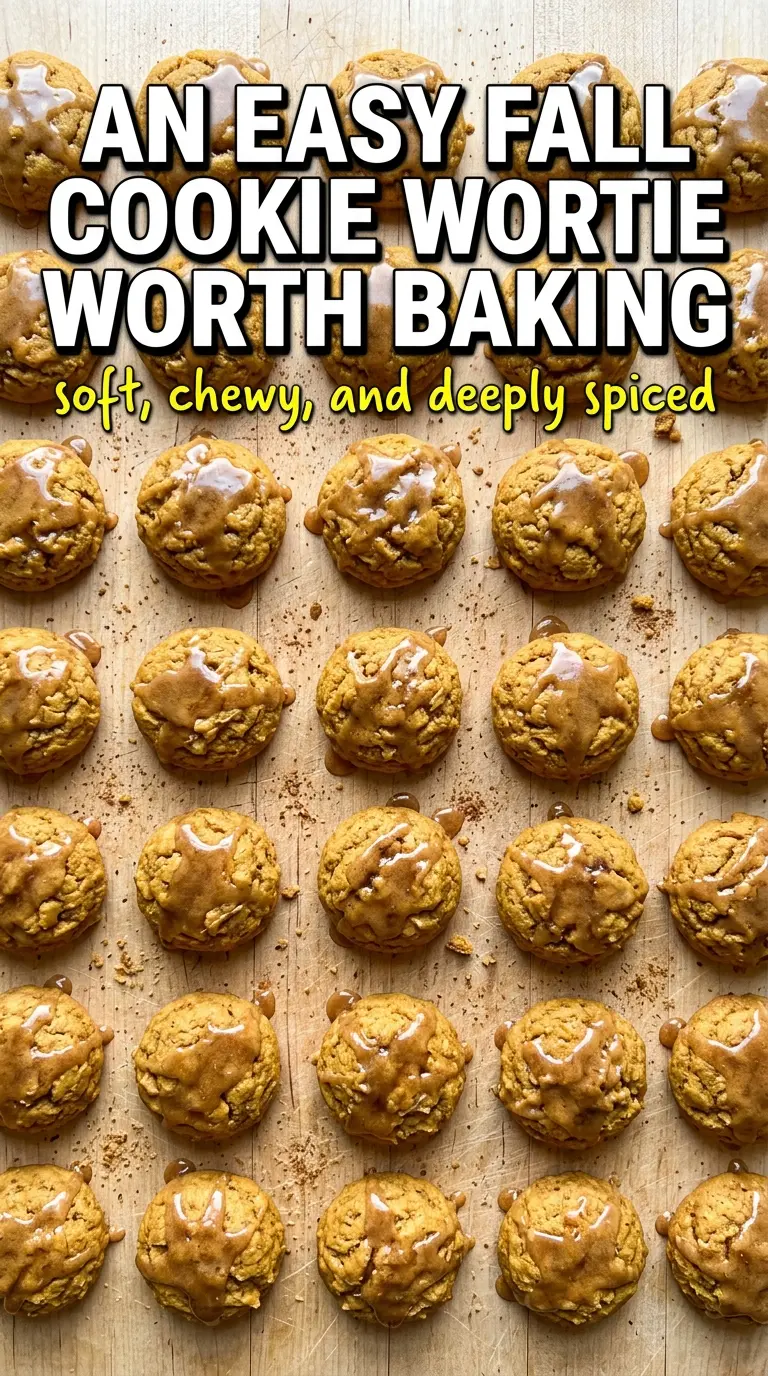
Brown butter gives these pumpkin cookies a deeper, toastier flavor than the usual soft pumpkin cookie, and that nutty note makes the maple glaze taste even richer. The texture lands right where it should: tender in the center, lightly set at the edges, and soft enough to disappear in a couple of bites. These are the kind of cookies that look simple on the tray and still manage to get attention the second the glaze goes on.
The trick here is keeping the pumpkin from turning the dough cakey. Brown butter brings flavor without adding extra water, and using just one egg yolk helps the cookies stay tender instead of puffing up like little muffins. Chilling the dough matters too. It gives the flour time to hydrate and keeps the cookies from spreading too fast in the oven, which is what helps them bake up thick and soft.
Below, I’ll walk you through how to brown the butter without taking it too far, why the glaze should wait until the cookies are fully cool, and what to change if you want a more maple-forward finish.
The browned butter gave these such a warm, nutty taste, and the cookies stayed soft for days. I chilled the dough for half an hour exactly like you said and they baked up thick instead of spreading flat.
Save these brown butter pumpkin cookies with maple glaze for the days when you want a soft cookie with real brown butter flavor and a glossy maple finish.
The Brown Butter Step That Keeps These Cookies from Tasting Flat
Brown butter does two jobs here: it builds flavor, and it changes the cookie’s texture in a good way. Regular melted butter can make pumpkin cookies taste one-note and a little heavy. Browning it first adds a toasted, almost caramel-like depth that plays beautifully with the maple glaze. The important part is stopping when the milk solids turn golden and smell nutty, not when they go dark. Burnt butter tastes bitter fast, and pumpkin will not hide that.
These cookies also rely on a lower-moisture structure. Pumpkin puree brings moisture, so the recipe uses only one egg yolk instead of a whole egg. That keeps the cookies tender without turning them spongy. The short chill after mixing helps the flour absorb the pumpkin and butter so the dough scoops neatly and bakes up with soft centers instead of puddling on the pan.
What Each Ingredient Is Actually Doing in This Dough
- Unsalted butter — Brown it in a light-colored pan so you can see the color change. Salted butter works in a pinch, but you lose some control over the final seasoning. Once it’s browned, let it cool slightly so it doesn’t scramble the yolk or make the dough greasy.
- Canned pumpkin puree — Use puree, not pumpkin pie filling. Pie filling already contains sugar and spices, which throws off the balance here. If your puree looks watery, blot it lightly with paper towels before mixing; excess moisture is the biggest reason these cookies spread too much.
- Packed brown sugar — This brings moisture and a deeper molasses note that matches the browned butter. Light or dark brown sugar both work, though dark brown sugar will push the cookies a little richer and darker.
- Egg yolk — The yolk adds richness and helps bind the dough without making it cakey. Don’t swap in a whole egg unless you want a puffier, more muffin-like cookie.
- Pumpkin pie spice — This is where the warm spice flavor comes from, so fresh spice matters more than you might think. If yours has been sitting in the cabinet for years, the cookies will taste flat even if everything else is right.
- Powdered sugar and maple syrup — The glaze should be thick enough to ribbon off a spoon, not watery. Start with the lower amount of syrup and add more only if needed. Thin glaze runs off the cookies instead of sitting in that pretty glossy layer.
How to Build the Dough Without Making It Puffy or Dry
Browning the Butter
Melt the butter over medium heat and keep it moving as the foam starts to settle. You’re looking for a deep golden color at the bottom of the pan and a nutty smell that turns sharp only at the very end. Pull it off the heat as soon as the milk solids are toasted; even thirty extra seconds can take it from rich to burnt. Let it cool for a few minutes before mixing so the pumpkin doesn’t break down and turn the dough loose.
Mixing the Wet Ingredients
Whisk the browned butter, pumpkin, brown sugar, egg yolk, and vanilla until the mixture looks smooth and glossy. It may look a little separated at first, but it comes together once the sugar starts dissolving. If you see oily streaks, the butter was too hot. Give it another minute to cool before moving on.
Bringing the Dough Together
Add the dry ingredients and fold just until no dry streaks remain. Overmixing develops the flour and makes the cookies tougher, which is especially noticeable in a soft cookie like this. The dough should be thick and scoopable, not sticky like cake batter. Chill it for 30 minutes so it firms up enough to hold its shape in the oven.
Baking Until the Centers Stay Soft
Scoop the dough onto a parchment-lined sheet and bake just until the edges look set and the centers still look a touch underdone. They finish cooking from the heat of the pan after they come out, and that carryover heat is what keeps them soft instead of dry. If you wait for the tops to look fully baked in the oven, you’ll lose the tender middle that makes these cookies worth repeating.
Three Ways to Make These Pumpkin Cookies Fit What You Need
Dairy-Free Brown Butter Style
Use a plant-based butter that browns well and watch it closely, since some versions go from golden to dark fast. You won’t get the exact same toasted depth as dairy butter, but you’ll still get a rich cookie with a good snap under the glaze.
Gluten-Free Swap
A good 1:1 gluten-free baking flour works here, but the dough may need a few extra minutes to hydrate before scooping. The cookies will be a little more delicate and slightly less chewy, though the browned butter and maple still carry the flavor.
Extra Maple Finish
If you want the maple to stand out more, replace a spoonful of the powdered sugar with a little more maple syrup and add it slowly. The glaze will soften a bit, so it works best as a thin drizzle rather than a thick coating.
Storage and Reheating
- Refrigerator: Store glazed cookies in an airtight container for 4 days. They stay soft, though the glaze will absorb a little into the surface by day two.
- Freezer: Freeze the unglazed cookies for up to 2 months. Lay them in a single layer first, then transfer to a container once solid so the glaze doesn’t smear or crack.
- Reheating: Let frozen cookies thaw at room temperature. If you want them slightly warm, use a low oven for a few minutes. The common mistake is microwaving too long, which turns the soft centers rubbery and melts the glaze into a sticky mess.
Answers to the Questions Worth Asking
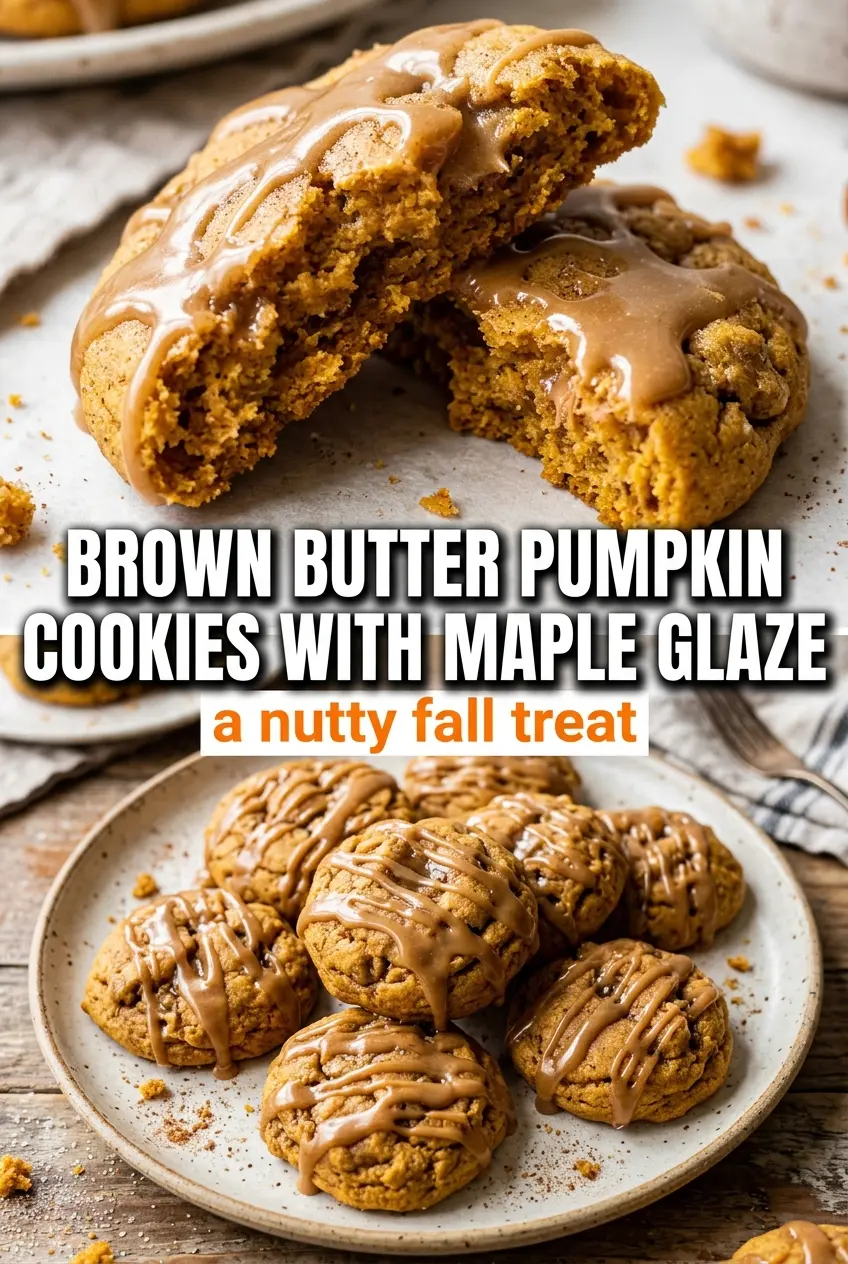
Brown Butter Pumpkin Cookies with Maple Glaze
Ingredients
Equipment
Method
- Melt the butter in a light-colored saucepan over medium heat, swirling occasionally, until golden brown and nutty smelling, about 5–6 minutes. Let cool slightly.
- Whisk the browned butter, pumpkin puree, brown sugar, egg yolk, and vanilla together in a large bowl until smooth. Stop as soon as the mixture looks glossy and uniform.
- In a separate bowl, whisk together the flour, baking soda, pumpkin pie spice, and salt. Whisk until the spices are evenly distributed.
- Fold the dry ingredients into the wet ingredients until just combined. The dough should look thick and no dry streaks should remain.
- Chill the dough for 30 minutes to firm up. It should be easier to scoop and hold its shape.
- Preheat the oven to 350°F and scoop the dough into balls onto a parchment-lined baking sheet. Space them apart so they can spread slightly.
- Bake for 11–13 minutes, until the edges are set but the centers are still soft. The tops should look slightly underdone and matte as they cool.
- Whisk together the powdered sugar and maple syrup, then drizzle over the cooled cookies. Let the glaze set until it looks slightly firm and glossy.