Two-tone no-churn ice cream makes an instant impression before the first bite. The strawberry side stays bright and fruity, the blueberry side brings a deeper, almost jammy note, and both scoops land creamy instead of icy because the base is built with whipped cream and sweetened condensed milk. It freezes into clean, scoopable layers that look festive without any special equipment.
The trick here is keeping the fruit purees concentrated and folding them in gently after the cream hits stiff peaks. That keeps the texture light and stops the mixture from turning runny before it ever reaches the freezer. Dividing the base in half also lets each flavor stay distinct, which matters when the whole point is that red-and-blue contrast.
Below, I’ve included the specific folding method that keeps the mixture fluffy, plus a few easy ways to swap the fruit or make the texture even richer. If you’ve ever had no-churn ice cream turn grainy or icy, this version fixes the most common trouble spots before they start.
The strawberry and blueberry layers stayed separate in the freezer, and the texture was creamy all the way through with no ice crystals. My kids thought it was store-bought until I told them it only took a few ingredients.
Red and Blue Ice Cream is the kind of no-churn dessert that freezes up creamy, colorful, and scoopable with almost no effort.
The Secret to Keeping No-Churn Ice Cream Creamy Instead of Icy
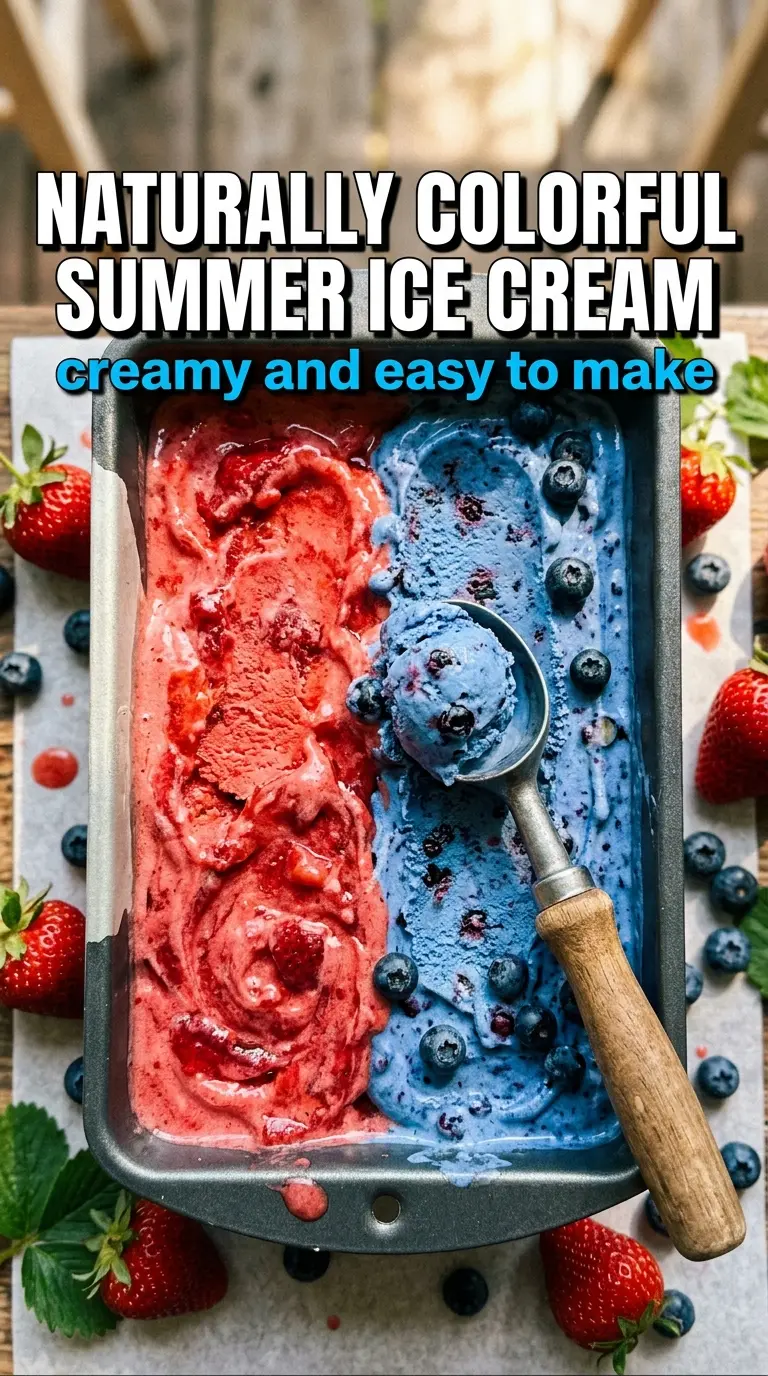
No-churn ice cream fails when there’s too much water in the mix or when the whipped cream gets knocked flat. Fruit purees can make that worse fast, which is why this recipe leans on concentrated puree instead of thin, watery fruit juice. The condensed milk helps prevent hard freezing, but the structure still comes from whipped cream that holds its shape before the fruit goes in.
The other thing that matters is where you stop mixing. Once the puree is folded in and the base looks uniform, stop. Overmixing pushes air out and gives you a denser, icier dessert. A gentle fold keeps the texture light and gives each color a cleaner finish in the pan.
- Heavy whipping cream — This needs to be cold and beaten to stiff peaks so the base can hold air. A lower-fat cream won’t whip the same way, and that means a softer, more icy freeze.
- Sweetened condensed milk — This does the sweetening and the softening at the same time. There isn’t a clean substitute here unless you’re willing to change the texture.
- Strawberry puree — Use a thick puree, not a thin sauce. If yours is loose, simmer it briefly first so it doesn’t water down the cream.
- Blueberry puree — A cooked-down blueberry puree gives a stronger color and flavor than raw berries blended straight up. If you want a smoother scoop, strain out the skins after pureeing.
- Vanilla extract — Even in fruit ice cream, vanilla rounds out the sweetened condensed milk and keeps the flavor from tasting one-note.
Building the Two Flavors Without Deflating the Base
Whipping the Cream First
Beat one cup of heavy cream until the peaks stand up cleanly when you lift the beater. If the cream is underwhipped, it will melt into the condensed milk and freeze flatter. If you go past stiff peaks, it starts to look grainy and loses that soft, airy body you want in no-churn ice cream.
Folding in the Fruit
Add half the condensed milk, half the vanilla, and the strawberry puree to one bowl, then repeat with the blueberry puree in the second bowl. Use a spatula and cut down through the center, then sweep up from the bottom so the whipped cream stays fluffy. If you stir hard, the mixture loosens and the finished ice cream turns dense.
Layering for a Clean Two-Tone Scoop
Spoon each mixture into one half of a loaf pan and smooth the tops with the back of the spoon. The goal is two distinct sides, not a marbled pan, so keep the fillings separate as you work. Cover the surface tightly so freezer air doesn’t leave ice crystals on top.
Freezing Until Firm
Freeze the pan for at least 6 hours, and longer if the center still yields when you press it with a spoon. No-churn ice cream should feel firm but not rock hard. If it freezes too fast in a very cold freezer, let it sit on the counter for 5 to 10 minutes before scooping so the colors come out in neat curls.
How to Adapt This for Different Fruit, Diets, and Serving Plans
Swap in Raspberries and Blackberries
You can use other berries as long as the puree stays thick. Raspberry puree gives sharper flavor and more seed texture, while blackberry puree makes a darker, richer color that leans more jammy than fresh.
Make It Dairy-Free
Use a full-fat coconut whipping cream and a dairy-free sweetened condensed milk alternative. The texture will be a touch softer and the coconut note will come through, but it still freezes into a scoopable no-churn dessert.
Turn It Into a Marbled Pan
If you want a swirled look instead of two clear halves, drop alternating spoonfuls of each mixture into the pan and run a knife through once or twice. You’ll lose the strong red-and-blue split, but you’ll get a prettier ribboned finish in each scoop.
Storage and Reheating
- Refrigerator: Don’t store this in the fridge; it melts quickly and loses its structure.
- Freezer: It keeps well for about 2 weeks covered tightly. After that, the surface can start to pick up freezer taste and tiny ice crystals.
- Reheating: There’s no reheating here. For the best scoop, let the pan sit at room temperature for 5 to 10 minutes before serving so the edges soften without melting the whole dessert.
Questions I Get Asked About This Recipe
Red and Blue Ice Cream
Ingredients
Equipment
Method
- In one bowl, beat 1 cup of heavy whipping cream to stiff peaks, with the mixture holding a clear peak when lifted. Fold in half the sweetened condensed milk, half the vanilla extract, and the strawberry puree until the texture looks smooth and evenly pink.
- In a second bowl, beat the remaining heavy whipping cream to stiff peaks, so it forms firm peaks that don’t slump. Fold in the remaining sweetened condensed milk, remaining vanilla extract, and the blueberry puree until the texture is smooth and evenly purple-blue.
- Pour the strawberry mixture into one half of a loaf pan and the blueberry mixture into the other half, smoothing the tops so the layers level out.
- Cover the pan tightly with plastic wrap or a lid to prevent ice crystals from forming and to lock in the two colors.
- Freeze for at least 6 hours, or until firm, so the ice cream scoops cleanly from the pan.
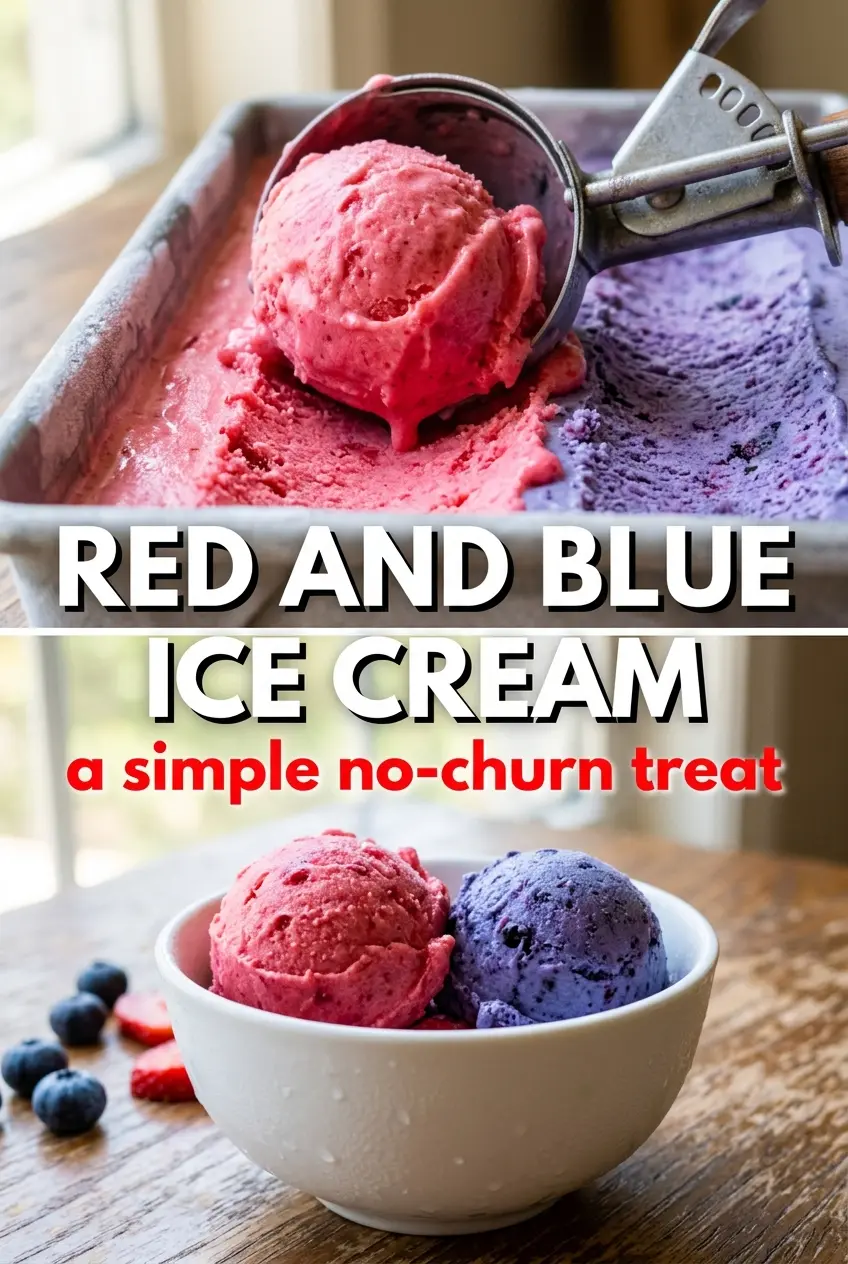
- Scoop from both sides for a two-tone red and blue treat, keeping the colors distinct in each scoop.