
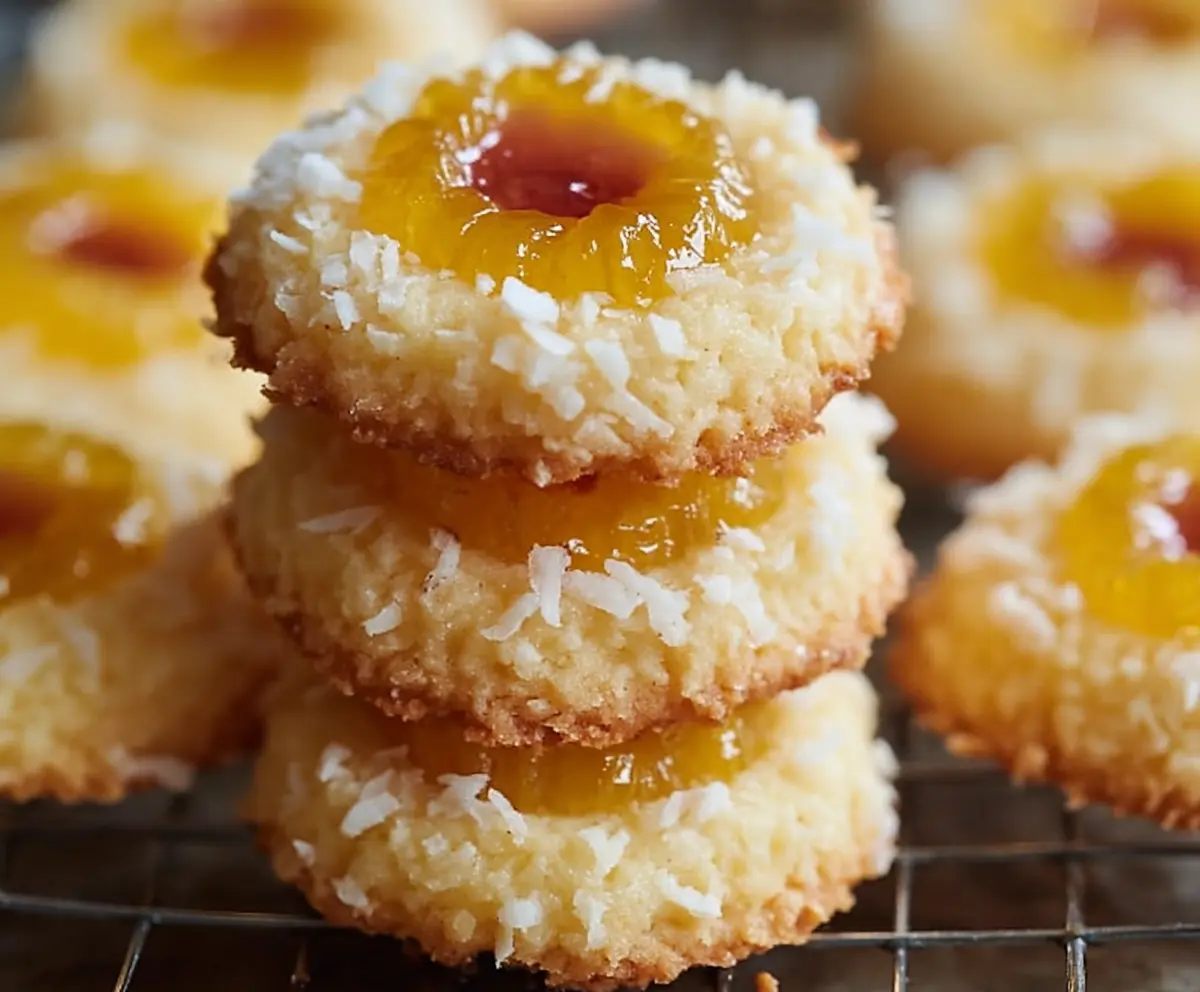
These delightful thumbprint cookies bring a taste of the tropics right to your kitchen! With sweet pineapple and creamy coconut, every bite feels like a sunny vacation.
I love making these for gatherings because they always impress. Plus, they’re super easy to throw together. Perfect for when you want something fun and tasty without the fuss!
Key Ingredients & Substitutions
Unsalted Butter: Using unsalted butter helps you control the salt in your cookies. If you’re in a pinch, you can use salted butter; just reduce the added salt slightly to balance the flavors.
Granulated Sugar: While granulated sugar provides sweetness, you could substitute it with brown sugar for a warmer flavor and a hint of molasses. This adds a chewy texture to your cookies.
Pineapple Preserves: If you can’t find pineapple preserves, apricot or peach jam makes a nice alternative. Both offer sweetness and a fruity layer that pairs well with coconut.
Shredded Coconut: Unsweetened shredded coconut can be used if you prefer less sweetness. You can also try adding macadamia nuts for an extra crunch and a tropical touch!
How Do I Get Perfectly Rounded Cookies?
For uniform and nicely shaped cookies, rolling the dough into balls is key. Make sure you measure out 1-inch sections of dough for even baking. Here are my tips:
- Keep your hands slightly damp while rolling to prevent sticking.
- After rolling, flatten the dough slightly so the center holds the indentation better.
- Don’t overfill the indentations with preserves to avoid any overflow while baking.
Following these tips will give you beautiful, round cookies with lovely pineapple centers. Enjoy baking!
Easy Hawaiian Pineapple Coconut Thumbprint Cookies
Ingredients You’ll Need:
- 1 cup unsalted butter, softened
- 2/3 cup granulated sugar
- 1 large egg yolk
- 1 teaspoon vanilla extract
- 2 cups all-purpose flour
- 1/2 teaspoon salt
- 1/2 cup shredded sweetened coconut (plus extra for rolling)
- 1/2 cup pineapple preserves or jam
How Much Time Will You Need?
This yummy cookie recipe takes about 15 minutes of prep time and around 15 minutes to bake. Don’t forget to give your cookies a little time to cool afterward! So, you’re looking at roughly 30-40 minutes from start to finish.
Step-by-Step Instructions:
1. Preheat and Prepare:
Start by preheating your oven to 350°F (175°C). This ensures your cookies bake evenly. Line a baking sheet with parchment paper or a silicone baking mat to prevent sticking.
2. Cream Butter and Sugar:
In a large mixing bowl, cream together the softened butter and granulated sugar using a mixer. Mix until the mixture is light and fluffy, which should take about 2-3 minutes. This step is important for the cookie’s texture!
3. Add Egg Yolk and Vanilla:
Beat in one large egg yolk along with a teaspoon of vanilla extract to the butter mixture until everything is well combined. This adds richness and flavor to your dough.
4. Mix Dry Ingredients:
In a separate bowl, whisk together the all-purpose flour and salt. Gradually add this dry mix to the buttery mixture, stirring until it is just incorporated. Be careful not to overwork the dough!
5. Stir in Coconut:
Add 1/2 cup of shredded sweetened coconut to the mixture, and give it a good stir until evenly distributed throughout the dough. The coconut adds a lovely texture and flavor.
6. Roll in Coconut:
Place some extra shredded coconut in a shallow dish. Roll the dough into 1-inch balls using your hands and then roll each ball in the coconut to coat the outside. This gives your cookies a beautiful, tropical look!
7. Prepare for Baking:
Place the coated balls of dough on the lined baking sheet, leaving about 2 inches of space between each one. This allows the cookies to spread without sticking together.
8. Create Indentations:
Using your thumb or the back of a small spoon, gently press down in the center of each ball to create an indentation. This is where the delicious filling will go!
9. Add Pineapple Preserves:
Fill each indentation with about 1/2 teaspoon of pineapple preserves or jam. Don’t overfill; just a small spoonful will do!
10. Bake the Cookies:
Pop the baking sheet in the oven and bake for 12-15 minutes, or until the edges of the cookies are lightly golden brown. Keep an eye on them so they don’t overbake!
11. Cool the Cookies:
After baking, take the cookies out and let them cool on the baking sheet for about 5 minutes. This step helps them set before transferring them to a wire rack to cool completely.
12. Enjoy:
Once your cookies are completely cool, they’re ready to be served! Enjoy these delightful Hawaiian Pineapple Coconut Thumbprint Cookies with friends and family, or keep them all to yourself!
Can I Use Unsweetened Coconut Instead of Sweetened?
Yes, you can use unsweetened shredded coconut, but keep in mind that it will result in a less sweet cookie. You might want to add a touch of extra sugar to the dough to balance the flavors.
How Do I Store Leftover Cookies?
Store any leftover cookies in an airtight container at room temperature for up to 5 days. If you want them to last longer, consider refrigerating them, but let them come to room temperature before serving for the best texture.
Can I Freeze These Cookies?
Absolutely! To freeze, prepare the cookies up to the point before baking. Place the unbaked dough balls in a single layer on a baking sheet, freeze until solid, then transfer them to a resealable freezer bag. When you’re ready to bake, simply bake from frozen, adding a couple of extra minutes to the baking time.
What Other Preserves Can I Use in Place of Pineapple?
If you don’t have pineapple preserves, you can use apricot, peach, or even passion fruit jam for a different but equally delicious flavor. Each will bring its unique taste to the cookies!